Showing posts with label pottery. Show all posts

Thursday, January 9, 2020

8th Grade Pottery

Since 8th graders made ceramic hand sculptures earlier in the semester and wanted to make something functional, I told them I would make sure they got the chance before the end of the class! The students had a day to research and find examples of pottery that fit into 3 categories: functional, decorative, and sculptural. I said functional pottery might have cool glaze, but is pretty simple, decorative has more design work added to it like carving, underglaze painting, stamping, etc., and sculptural has sculpted elements. After some initial confusion on which category to put each chosen image in, the students had some inspiration to design their own projects.

A couple students made slumped bowls.

I have a mug template that is a pretty nice size and involves only a slab-rolled rectangle and a circle made with a cookie cutter and many students chose that base.
Some students made handles, some left their cups plain.
Sgraffito is one of my all time favorite techniques so I was excited to have some students give it a try!

Bowl on a pedestal with tree pillars. Layered glazes inside the bowl.

The students could make any type of functional pottery, they just had to think about their designs and get a plan approved. This year I think I found a pretty good balance between having open-ended but still structured lessons with choice-based projects in between. 

I've struggled the most with finding the right balance between structure and freedom in my middle school classes out of all PreK-12 and I'm hoping this structure continues to work well with my 7th graders who will be have art 2nd semester.

Wednesday, December 28, 2016

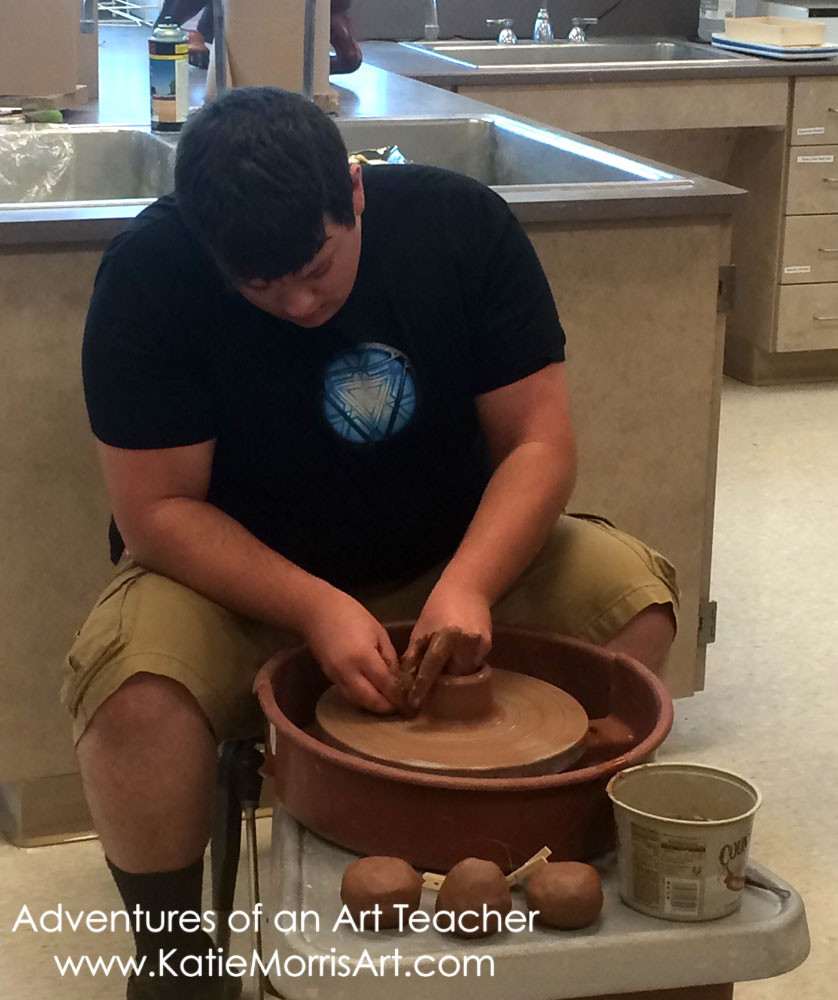
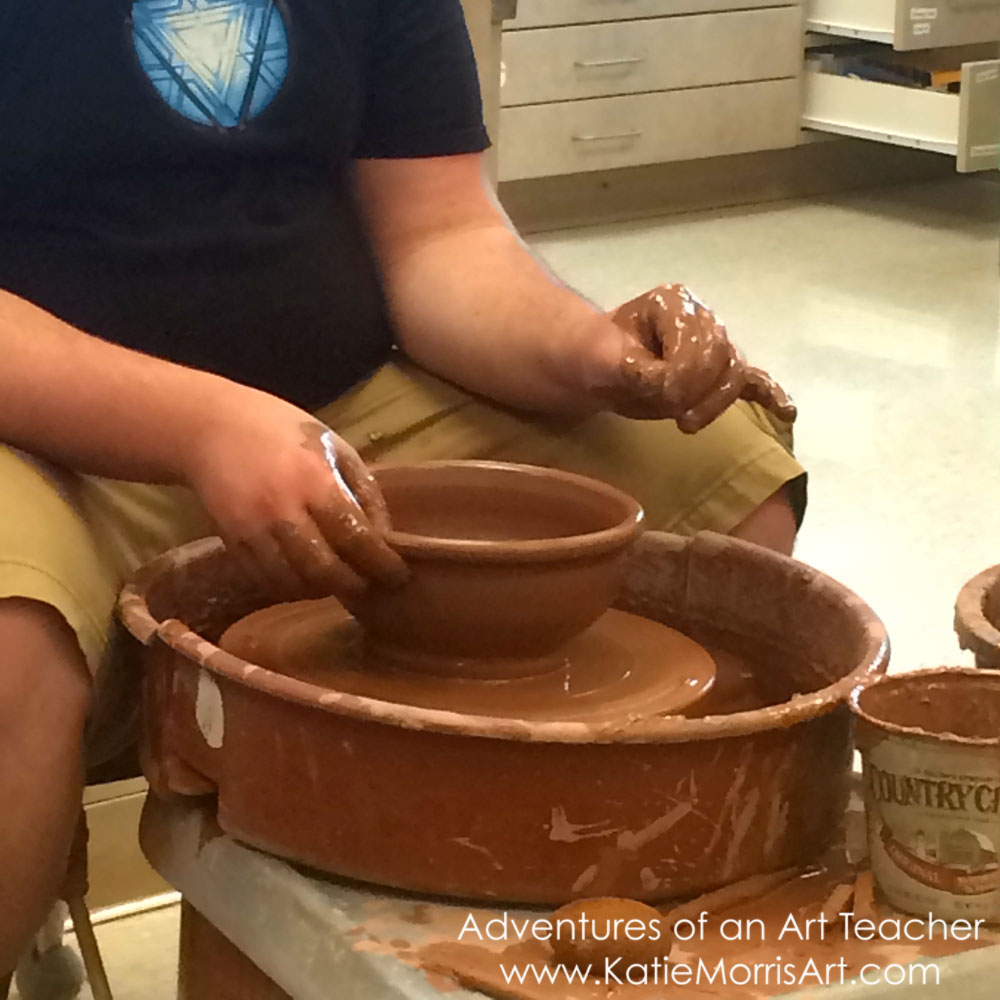
Guest Artist: Kegan Meister

I'm a firm believer in being real with my students and admitting my weaknesses. I'm honest with my students that wheel throwing is not my strength. I didn't do it much in high school and had maybe half a semester on the wheel at ESU. I finally learned to throw during my 2nd student teaching placement- and then taught K-6 for 6 years so I've had to relearn. With lots of practice over the last year and a half, I'm feeling more confident and have improved quite a bit, butttt, my skills are not nearly as advanced as a family friend who is majoring in ceramics and thinking about becoming an art teacher. Kegan sent me a message last August to ask if it would be ok to demonstrate throwing for my classes before his semester started up again. I said absolutely and rearranged the schedule to fit him in. Kegan spent most of the day at school demonstrating which I hope was as good an experience for him as it was for the students and me. 


Wednesday, January 27, 2016

8th graders on the Potter's Wheel

I mentioned in my last post that I hadn't planned on offering wheel throwing to my 8th grade class but some students asked and I figured why not? Probably half of the students ended up trying it out and all but a couple of them actually made something functional! I was impressed. They seemed to take to throwing a lot better than I did in the beginning.

First attempt on the left, second on the right. I know the gray bowl was the result of a glaze defect, but I think it's beautiful.

Sunday, December 1, 2013

CYOA: Embellishing Pottery

Each year the art teachers in my school district choose a different part of the world or culture as a K-12 focus. We try to get other departments involved as well for interdisciplinary connections. The efforts culminate during Cultural Heritage Week- a week of speakers, performances, and a K-12 art exhibit. This year our focus has been Native American cultures. Since I had already decided to experiment with choice based art instruction at my intermediate school, I used the "Choose Your Own Adventure" method that I tried out with 5th grade when studying fibers last spring. I came up with several open-ended ceramics projects and each student choose a direction. 
The first direction I wrote about was Effigy Pots. The next direction, and the most popular, was embellishing pottery. We talked about how Native artists did/do embellish their ceramic artwork. We categorized the different techniques as Painting Designs, Etching Designs, and Adding Texture.
The idea for texture came from a webpage detailing clay tools used by Native Americans of New England. Many of the tools were things found in their part of the country, so I used some of those ideas and found a few things outside that could also be used for texture. Students pressed the tools into the wet clay, some just experimenting, others consciously making designs. It was a big hit!
To etch designs, students put a layer of paint (we used tempera cakes) on their dry clay and used a paper clip to scratch designs. We found that etching while the paint was damp but not too wet made smoother lines than etching into totally dry paint.
Example of etched design: http://www.pinterest.com/pin/42995371413986740/
The last technique was painting designs. We talked about how the idea was more to get inspiration from the Native American artists and art forms than to make something that "looks Indian". That is an important concept that we kept reviewing!
I created a Pinterest board to keep track of all my research and images to show students. You can check it out here: http://www.pinterest.com/katiemorris/native-american-art/

Wednesday, July 4, 2012

3rd Grade Clay- The Pot That Juan Built


I've taught the same clay lesson for 3rd grade each year- the students hand-build pots with a slab base and coil sides based on the book The Pot That Juan Built. I demonstrate then read the book to the students while they work. (It's my quietest 3rd grade class of the year!) In the second class period when the pots are dry, the students use tempera cakes to paint. The last 2 years, I have just let the students have at it with no direction on colors. This year, we used Aesthetic Scanning to discuss some photos of Juan Quezada's pottery (seen here and here). The students noticed how he typically only uses 2 or 3 colors in the pottery and has lots of little details added with lines. So this year, the students could choose 2 colors of tempera cakes, then I put out liquid black tempera and little tiny brushes so they could add designs on top of their colored base. I like the pottery both ways but overall, they look more finished this way. (You can see a few photos from last year's project here.)
When we make attachments in clay, we use the "4S" method: score, slip, squish, and smooth. I also like this because my older kids use "4S" lines: straight, silent, still, smiling.


We use air dry clay because we don't have access to a kiln. You can read my tips for teaching elementary Art without a kiln here: http://artteacheradventures.blogspot.com/2012/01/tips-for-teaching-elementary-ceramics.htmlhttp://artteacheradventures.blogspot.com/2012/01/tips-for-teaching-elementary-ceramics.html and add your own tip in the comments!

Monday, December 21, 2009

6th Grade Monochromatic Silhouettes


Ancient Greek pottery was the inspiration for this project. I thought the students were going to be studying Greece at the time of the lesson but the schedule had changed. Guess they just got a little preview. The students viewed (described, analyzed, interpreted, and judged) images of Greek pottery and discussed the positive and negative space relationships, the monochromatic silhouettes, and how the images showed action to tell a story. The students thought of their favorite things to do and chose one activity to show in their silhouette paintings.

I really liked the image below and the students were excited to find out that the central figures on the pot are boxing! I called on individual students to make observations about the pot and after they had shared their initial observations, we just went through each of the elements of art and discussed how each is used on the pot. The pot, a three-dimensional work of art with two-dimensional surface decoration allowed for a great discussion on positive and negative space. I like to tell them that negative space is the space around a space to get their attention! The actual pot is positive space and the empty area around it and through the handles is negative space. When it comes to the decoration, the figures and designs in the darker color are positive and the lighter color (empty space) is negative space.
510-500 BC

I told the students that the figures and props in their paintings were going to be one solid color to make the entire work monochromatic (mono= one, chromatic= color). A monochromatic color scheme uses tints and shades of one color. A tint is a color with white added to it and a shade is a color with black added to it. I had a wooden drawing model that I put behind a piece of fabric serving as a makeshift curtain to show them a silhouette but it was still hard for the students to grasp that everything they drew was going to be one solid color. I finally thought to remind them of the iPod commercials that showed the silhouette and that helped. I happily made a fool of myself to demonstrate finding the best angle to show the action of the activity the students had chosen. I asked for ideas they had come up with and showed a straight-on and profile view and talked about which would be a better choice for each.

The students didn't have very much experience drawing figures so I told them just to do their best. Before they started drawing, I talked about the ancient Greek ideas of the "ideal" human proportions. I told them that we didn't need to worry about faces since just the silhouette is shown but that your foot is the same size as your head and that your body is about 8 heads high. The students in the first 6th grade class didn't believe me so I had one of the students measure my head. Then we got to integrate math! The student said my head measured 8 inches so we multiplied that by 8 to get 64 inches. They I had the students divide 64 by 12 to convert the inches to feet. We came up with 5' 4". I am really 5' 7" but I told them that is pretty close! The students chose a piece of construction paper and spent the first class drawing the silhouettes in pencil. I normally have assigned seats but to make it easier to handle paint for the second class, I grouped the student by the color of paper they had chosen. I passed out pretty small brushes and the students painted in their figures/props. We need to keep working on craftsmanship but here are a few of the more successful student examples:


Sports were the most popular activities chosen but some students chose things like reading, making art, or baking. Just about anything can work, you just have to find the right angle.