Here's a fun project my computer graphics students completed! I learned the basic steps from a Skillshare class that was hand drawn repeating patterns. I let the students start drawing by hand but we finished on the computer. Here is a link to the handout I gave them with all the steps: https://docs.google.com/document/d/1ChKRWFiFgo_rDOi1lhNMWZF8jWc1EAj8FEBXxgwHSIo/edit?usp=sharing
I need to explore doing this project in Illustrator. I have only had access to an updated version of the software for about a year and am self taught so I'm not sure of the best way to do it, but I feel like it might work even better, or at least save some steps!
It was really fun to see what objects the students chose to work with.
I will admit that sometimes things don't match up perfectly when you repeat the tile, which doesn't make sense to me, but be prepared in case it happens. We were able to just make some small adjustments when zoomed in and complete a couple lines to fix things.
Last year I tried out boot camps to introduce new media to my high school graphic design students- the idea is to let them test and learn about the different media quickly instead of doing a multi-week project focused on building skills. You can read about what I did last year HERE.
This year I tried a few different things, listed below.
Contour line drawing- hands or objects, just focusing on the lines. I brought a ton of still life objects in to the classroom from which the students could choose. I have a collection of old cameras, objects from nature like shells, starfish, and nests, old cooking utensils, etc. Students spent at least a day just drawing from observation using pencil.
Perspective- one and two point comparison. Assess prior knowledge- what is perspective in drawing? Use block or cube to demonstrate.
Do a demonstration of one and two point perspective (block letters and cubes)
Students spent the class period practicing perspective drawing.
Choices
Block letter name or word
One point perspective street
Floating forms
Two point perspective building
Set up scene with building blocks and draw with one or two point perspective
Shading- differences in pencils types, hatching, rendering, following contours, blending stumps, start light and build to dark. Create value scale, practice shading a sphere, or shade the drawing started for the contour drawing day.
Let's just pretend my pencils are still organized.
Ink techniques/Composition- patterned animal. I knew students would need a project that they could work on in a different classroom with minimal supplies while we took school pictures for 4 days. This was pretty much a confidence booster for students.
Select animal, draw contour large to fill the space. Optional: take a quiz to choose animal that fits personality. Can add a few anatomical details- eyes, edges of appendages, but should initially look like a coloring book drawing. Next, the students started adding patterns. I talked about how to create a pattern, how to divide space and make composition logical within the animal chosen.
Color- colored pencil layering and blending, following contours, creating textures, shading with complements, cool colors recede and warm come forward, oil pastels blend to look like paint. Students chose a colorful magazine swatch to match with either colored pencil or oil pastels.
Charcoal/chalk pastels- Demonstrated charcoal starting with ground and drawing back in with eraser. I talked about how to hold the stick, how to blend, how to fix and protect. I compared and contrasted to dry pastels and explained the difference between oil pastels and 'chalk' pastels. Students explored one or both media for the class period.
For the last part of boot camp, students were to make a completed still life drawing using any of the media covered. They had the option of working back into a drawing started during boot camp or starting something new. A couple students decided to try the ArtProf challenge of creating a charcoal self portrait from observation and I let them substitute that.
Probably half of the still life drawings have not yet been finished (or not turned in) and we're nearing the end of the semester. They had time at the end of boot camp to finish up the patterned animals and still life, and I said they could come back to one if they finished another assignment early later in the semester. I encouraged students to bring in an object that was meaningful or interesting to them for their still life drawings but most didn't, and then weren't that engaged with the object they chose from my stash. Or at least not engaged enough to spend multiple class periods on it. I don't know exactly how I will handle that part of boot camp next year, but I was pretty pleased with how it went introducing media and practicing some skills. Soon I will share about what we did for painting boot camp this year and then move on to our first themed project- Unsung Heroes!
My second grade project for our Cultural Heritage study on India this year involved learning about the significance of elephants in Indian culture and the beautiful block printing method used for textiles. The students created stamps out of cardboard and foam and used that the create a patterned background. Then, the students drew elephants and glued them in the center of the printed background. I typed the lesson up to share on the smARTteacher in November. You can see the complete lesson HERE.
1. Introduction -Briefly talk about India, show location on map -Explain that art is infused into Indian culture -Block printed textiles from India are very beautiful and detailed. Explain and look at pictures of fabric and printing process. 2. Show how to make a stamp with cardboard and foam (instead of carving wood like most of the blocks from India.) Remind students that they have to cut shapes instead of lines. "Lines" can be made by cutting very thin shapes. 3. Students cut foam shapes, check with teacher, and then glue to cardboard when approved. 4. Print stamps -Students choose construction paper -Use paintbrush to apply black tempera to stamps (this helps my students not get too much) -Start in a corner and stamp along edges first. -Talk about how rotating or flipping the stamp can create a different kind of pattern. -Filling in middle is optional. Just printing a "frame" also looks nice. 5. Introduce Indian elephants -Look at pictures of Indian elephants and artwork including elephants -Elephants were the traditional mode of transportation for Indian royalty 6. Make elephants -Students draw Indian elephants on 6x9 inch white paper -Trace pencil drawings with sharpie -Color elephants with crayons or colored pencils 7. Cut out elephants -Remind students to turn the paper, not their scissor hand, and to be careful with dangly parts like the tail and trunk 8. Glue elephants in center of printed papers
- See more at: http://www.thesmartteacher.com/exchange/resource/1405/Indian-Elephants#sthash.pgcPE7Zu.dpuf
I love how the printed papers turned out. Some students flipped or rotated to create more complex patterns. Lots of good math connections.
A lot of "India" projects I've seen use elephant tracers... while my students' elephants may not look like you'd expect, it was more important to me for them to practice looking and drawing than to have a perfect elephant. Besides, look at all the personality!
Indian animals were one of the starting points for my 4th-6th graders' Cultural Heritage Week projects this year. India has some really beautiful, interesting animals. On my "choose your own adventure" bulletin board, one section had a list of Indian animals and some facts, like that the Bengal Tiger is the country's national animal and the Peacock is the national bird. I found a color photo of each of the animals I listed to display on the bulletin board and printed off reference photos showing most animals from multiple angles. How the students chose to use the animals in their artwork (or whether they went an entirely different direction) was up to them.
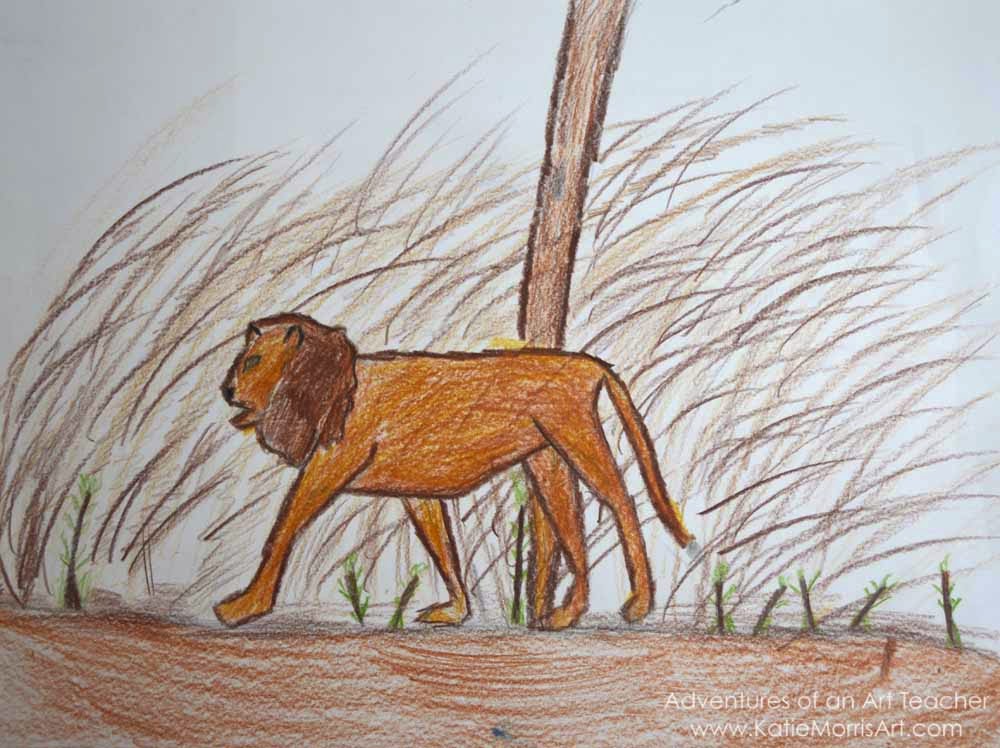
Many students chose to create realistic drawings.
I wish you could see this 4th grader's drawing in person. I had to adjust the photograph because the colored pencil on black paper is subtle, but it is really cool.
Some students used my mehndi cheat sheet and worked the patterning into their composition.
You should enlarge this photo and read the artist statement. She was so thoughtful with her choices!
Some students used the same idea in printmaking.
Two students asked if they could make handprint peacocks. I told them if they made it not look like a handprint turkey, they were welcome to try. They turned out kind of fun. :)

 Here's a fun project my computer graphics students completed! I learned the basic steps from a Skillshare class that was hand drawn repeating patterns. I let the students start drawing by hand but we finished on the computer. Here is a link to the handout I gave them with all the steps: https://docs.google.com/document/d/1ChKRWFiFgo_rDOi1lhNMWZF8jWc1EAj8FEBXxgwHSIo/edit?usp=sharing