Showing posts with label still life. Show all posts

Saturday, January 4, 2020

Genres Around the Room


The basic tenants of a TAB (Teaching for Artistic Behavior) classroom are:
What do artists do? 
The child is the artist. 
The classroom is the child's studio. 

This school year before my high school students started their drawing boot camp, I wanted them to think about the first question on the list: What do artists do? 
I wanted them to understand some of the traditional categories of art and introduce some that they are less familiar/comfortable with so that when it was time for their first choice artworks, they would have a foundation to build on and some new ideas of what is possible do they could answer another question: What can I make? The Around the Room structure created by Cynthia Gaub worked really well to accomplish this goal.


Here is a list of the activities we did, although I did this before  the drawing/collage boot camp instead of after as I originally considered.


Portraits
For portraits I created some basic "how to" sheets with steps or notes about drawing facial features. I asked students to draw at least one nose, eye, and mouth for practice.

Students drew facial features on a head template to practice placement. I explained that observation is more important but the basic proportions are helpful to know so you can troubleshoot if something doesn't look right, or for when you are drawing from imagination/memory.

One of the activities was to finger paint a portrait of the student across from them. I forgot to tell my high school students not to paint ON each other so if you try this, learn from my mistake.

The last activity was to trace the contours of a magazine portrait. I know it sounds weird, but I explained to the students that it can help you build muscle memory and feel how the parts fit together.


Still Life
Somehow I didn't take any pictures of the still life activities, but here is what we did.
  1. I had a very busy still life scene set up with lots of found objects. Students were asked to zoom in, try different angles, etc. to practice composition in a photo.
  2. I set a little wooden chair on the table and asked students to draw the negative space instead of the positive. This was a difficult concept for them to understand- the empty space AROUND the chair instead of the chair itself. I explained that checking the negative space is a handy tool when drawing because it can help you figure out size relationships.
  3. Contour line drawing- I had a collection of objects on the table and asked students to choose one to draw the contours of, focusing on accurate observation. Learning to see is an important skill not just in art and even my students who prefer to draw from imagination tend to be more confident when they have a foundation in observation.
  4. I pulled out the tub of wooden forms that includes cones, pyramids, cubes, spheres, etc. and students practiced drawing them with depth. (Later in drawing bootcamp we talked more about perspective.)
Landscapes
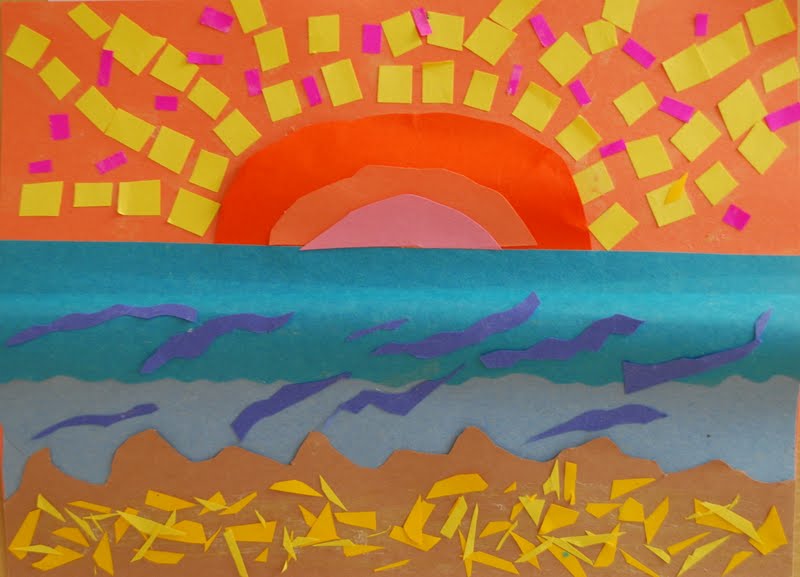
Students had two activities for landscapes. First was to make a torn paper collage with background, middle ground, and foreground.
The 2nd was to use the ProCreate app to make a digital landscape using layers. We don't have enough iPads for everyone so some worked with a partner.

Abstraction
My example of breaking a composition down to simplify into abstraction.
The first type of abstraction the students practiced was through simplification. The students chose their favorite photo from the still life composition practice and abstracted it. This was also a difficult concept for them to grasp! I was talking to my teaching neighbor after school and he suggested showing the scene from Inside Out where they enter "abstract thought". I showed the clip the next day to reteach but I wish I'd thought to show it first!

The 2nd activity in this category was nonobjective vs abstract. I had cut sections of magazine pictures out that were interesting in terms of color, texture, lines, etc. but were just a small part so you could not tell what the original thing was, and glued them in the middle of a piece of paper.  The students used their choice of drawing supplies to start with the magazine piece and fill in the rest of the paper creating a nonobjective design.
Imagination
The imagination activity was included in the same day as the abstract/nonobjective. Students went to www.artprompts.org and made a drawing based on one of the prompts. Artprompts.org gives you ideas of something to draw that aren't easily google-able. 

Reflection
On the last day I set out art prints organized by genre on different tables. Students rotated through each genre and wrote about their favorite piece. At the end I asked them to think about their favorite genre and why they like it. After our drawing/collage boot camp, students created work and identified the genre within which it fit.
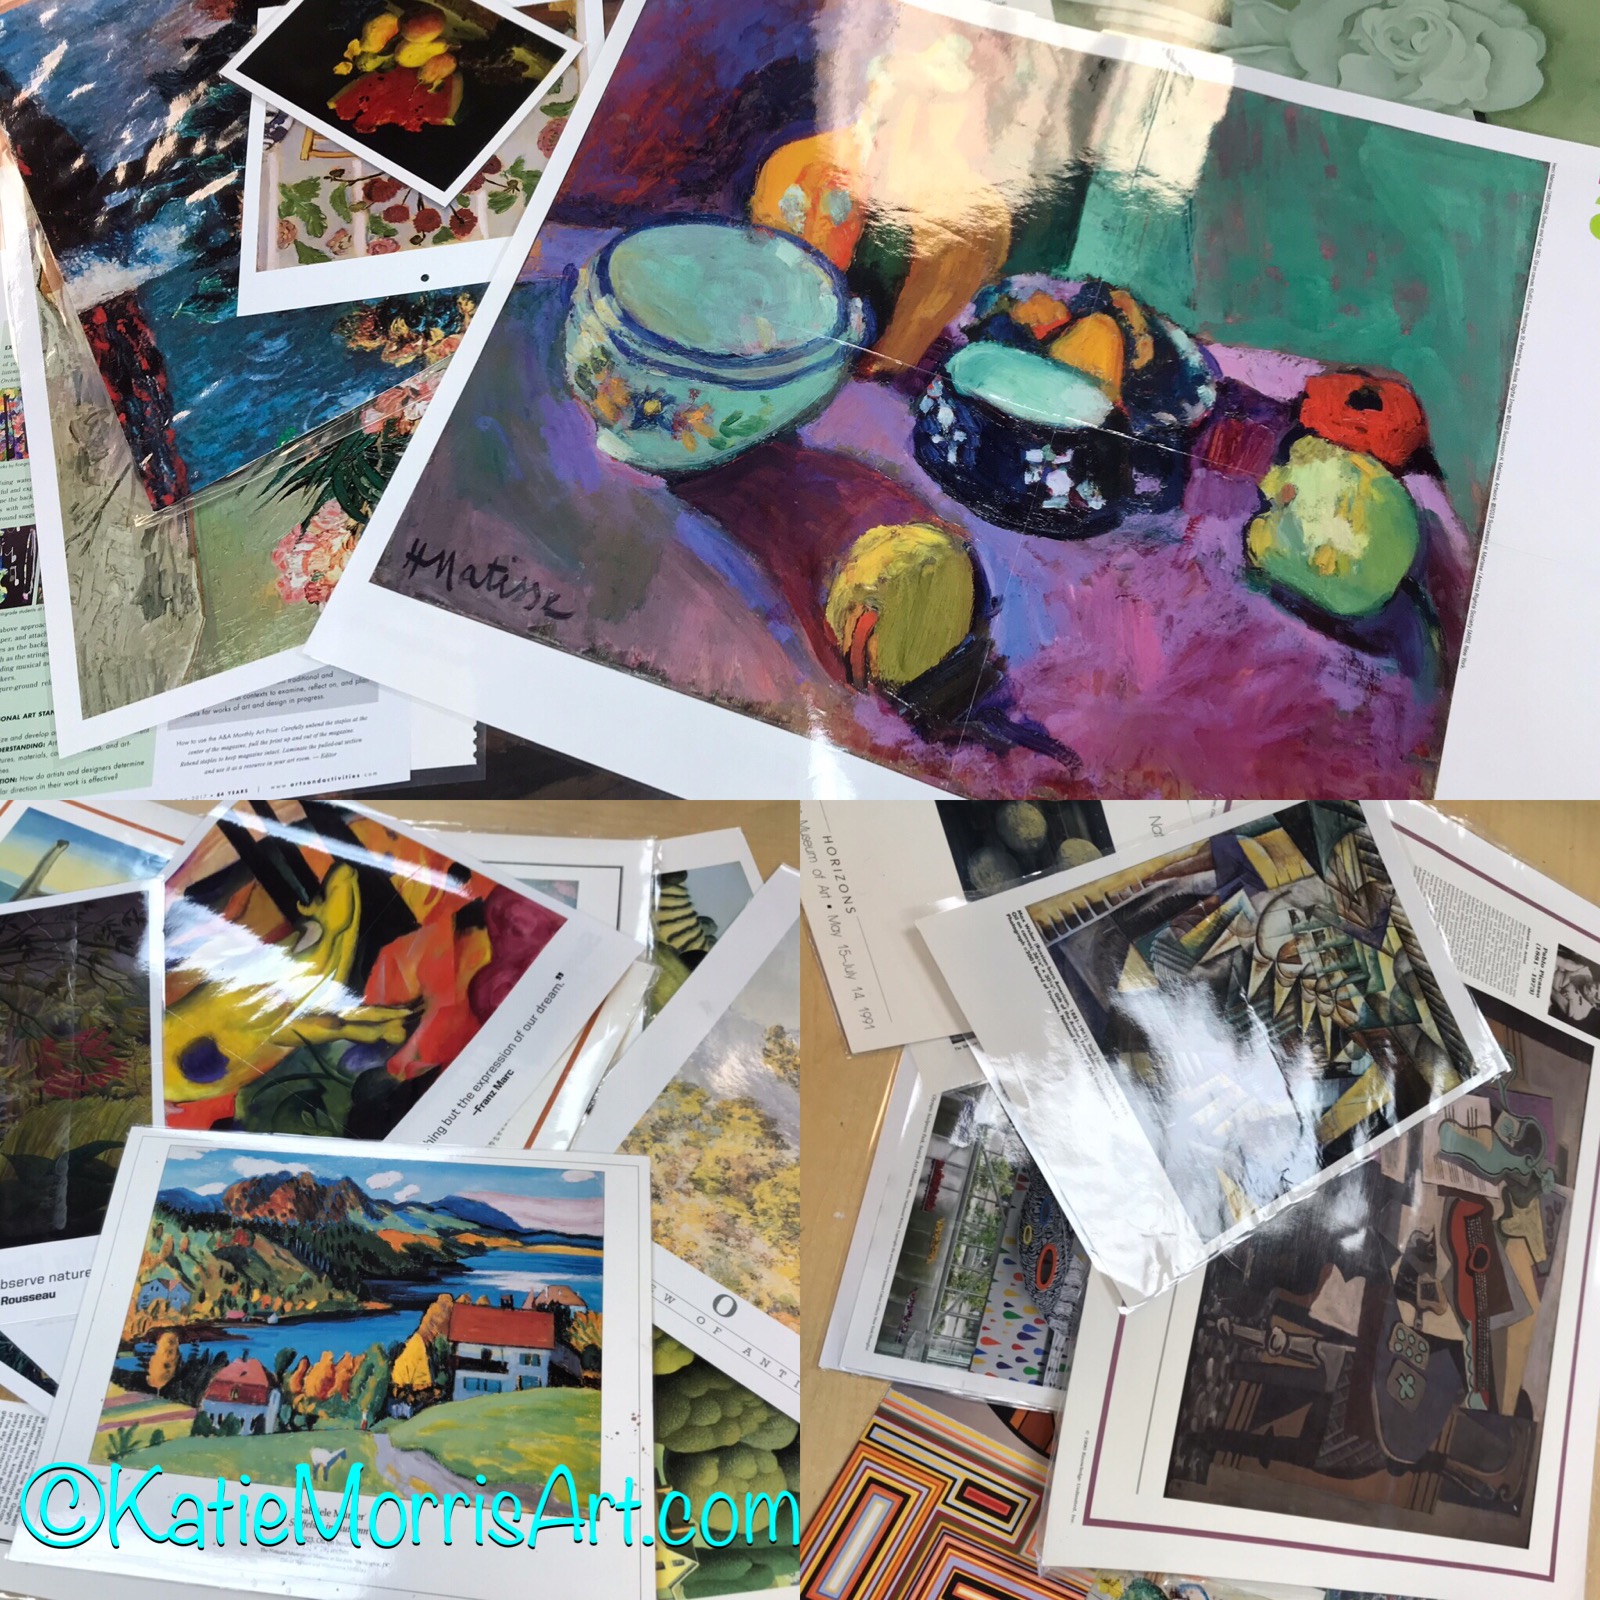

My favorite part of the reflection was when a student that had been complaining about having to try abstraction for a day, realized he chose the most abstract example in each genre as his favorite. It's fun to challenge students' notions about art!

Sunday, October 25, 2015

Painting Boot Camp

I did lots of thinking over the summer. LOTS of thinking. I knew I wanted to stick with TAB, but I hadn't ever used the approach with high school students. I was torn until I read about Apex's idea of "boot camp". Brilliant! Students spend time doing activities to get acquainted with new media so they know what they want to use for their choices later on. The first month of school was basically 2D boot camp in my graphics classes. We covered observational drawing, pencil rendering, ink techniques, acrylic, watercolor, colored pencil, mono printing, and collage! Soon, we will do a 3D boot camp and later on, digital media.
Our painting boot camp started with a color mixing challenge. Students were divided into teams, given a sheet with numbered paint sample swatches, tempera paint in primary and neutral colors, and worked together to mix paint to match the colors as close as possible.

The next task was to complete a one day acrylic painting of fruit. I gave the students small pieces of poster board to paint on and did not allow them to draw the fruit ahead of time. I wanted to see how they would do starting directly with paint.


 After acrylic, students completed one day watercolor paintings. I suggested a landscape, but it could have been something else. No reference photos, just see what you can come up with out of your head.
Students were much more comfortable with acrylic than watercolor, so one of my goals for the year is to win some more over to team watercolor!

The next post, some day, when I'm once again caught up on grad work, will cover mono printing and collage boot camps. If you want to see what we're up to in closer to real time, follow @JHArtClass on Instagram!https://instagram.com/jhartclass/

Sunday, October 4, 2015

Artists Observe

One of the first assignments for the year after reviewing the Elements of Art, was to spend some time practicing observation with 8th grade and high school graphics students. Students chose from any of the still life objects I brought from home or anything they could find or set up in the classroom. We probably spent about a week on these drawings starting with a contour drawing and then developing value through shading with pencil. This straight forward real life drawing helped me to gauge the students' observational skills, drawing abilities, and persistence. Allowing the students to choose WHAT they wanted to observe (real objects for this project, not photos) helped some be more engaged and was very practical as my classroom does not have a good set up for a central still life that all could observe.
An old cowboy boot was one of the most popular items to draw. It was set up in the middle of a crowded 8th grade table so it was drawn from many angles.
The lines may have been a bit warped on the tin can above, but I was impressed with the shading.
We had live models for part of the project- black swallowtail caterpillars!
Two students drew a stuffed animal Cat in the Hat.

Some dried starfish were great for practicing texture.
A few students set up blocks to draw.

Glass jars are always a challenge. A thermos from my collection was shaded with cross hatching.
Art tools and supplies can make good models for observation.
Another popular model was a deer skull I borrowed from a friend. There are a lot of challenges involved but students handled it pretty well.

What is your favorite way to handle still lifes?

Sunday, July 24, 2011

4th Grade Dimensional Paper Pictures


This project was an experiment with my 4th grade students... Not in that we were doing a new lesson (we were,) but in how we worked on problem solving.  I am sometimes too quick to just give students an answer when I should be challenging them to come up with their own solutions.  I also purposefully did not make a finished example because I wanted the students to make their own choices instead of the same choices I made.  Sooo, I explained the assignment (make a picture of a still life or landscape out of construction paper that is three dimensional) and showed the students a few techniques like tearing, curling, crumbling, folding, to create texture and dimension.  I reminded the students that they might have to make tabs to attach the paper and let them get started.  When a student asked me a question, I didn't answer it right away.  I tried to ask them questions to guide them to a solution or encouraged them to ask classmates that looked successful what techniques they were using.  

Honestly, this freaked out a lot of my students.  I think if I work harder on questioning the whole school year instead of just trying it out at the end, it would go more smoothly.  But hey, this blog isn't just about success stories, I'm trying to include my learning as I go.

This was a two class period project.  At the end of the second class period, I had a student say, "Hey, this looks kind of cool at the end!"  I guess that's why it's good to have a finished example, so the students can see where they are headed.  I just get so frustrated when students copy my work because they think it is THE right way to do it.  Even if I take the example down after I show it, I still have students with apparently photographic memories that copy it.  And if I catch them in time, I make them change something so it's different than mine.  Unfortunately, I don't always see it until they are mostly done!

I also touched on foreground, middle ground, and background to create space but it didn't click with most of the students.  Something else I need to do a better job of next year!


This student incorporated mini origami birds which I love!