Showing posts with label space. Show all posts

Wednesday, January 6, 2021

8th Grade Space- a Choice Based Art Lesson

 I have struggled this year with not being able to find a way to give my middle school class as much choice as I usually do. The class is big for my classroom so social distancing is tricky plus supplies I wanted for their personal art supply kits were back ordered so they’ve mostly used drawing media. I wanted to cover a topic while at least allowing them to choose their direction so after observing the need in their independenent drawings, I picked the concept of space! 

1 point perspective practice2 point perspective practice
We did some warm up activities and skill builders like practicing one and two point linear perspective, a simple landscape with atmospheric perspective, and a design using negative space. When it was time to plan their project, students could choose from suggestions or come up with their own idea as long as they used space!

Negative spaceNegative space

Modified one point perspective project
I needed to modify a lesson for a student so she directed what shapes she wanted and where she wanted them. I printed out the design on card stock so she could connect the edges to the vanishing point. 
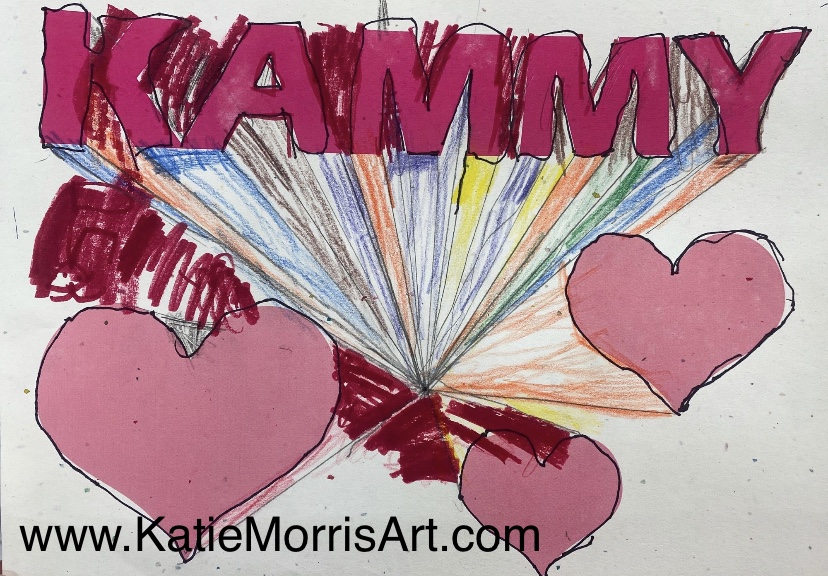
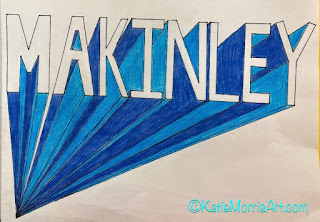
One point perspective name


Tuesday, May 26, 2020

3rd grade Landacapes

One of my demos for 3rd grade before Covid-19 was about landscapes. We first watched the PBS Bob Ross Remix because I knew some of the kids liked Bob Ross and because I really appreciate some of his ideas like "this is your world, you're the creator, find freedom on the canvas."
I also just love the video. My husband seriously played the song for me a few times when I was in labor with my 3rd kid! I find it very relaxing. Students do too, high school students still ask me if we can listen to after I play it for them when we talk landscapes!
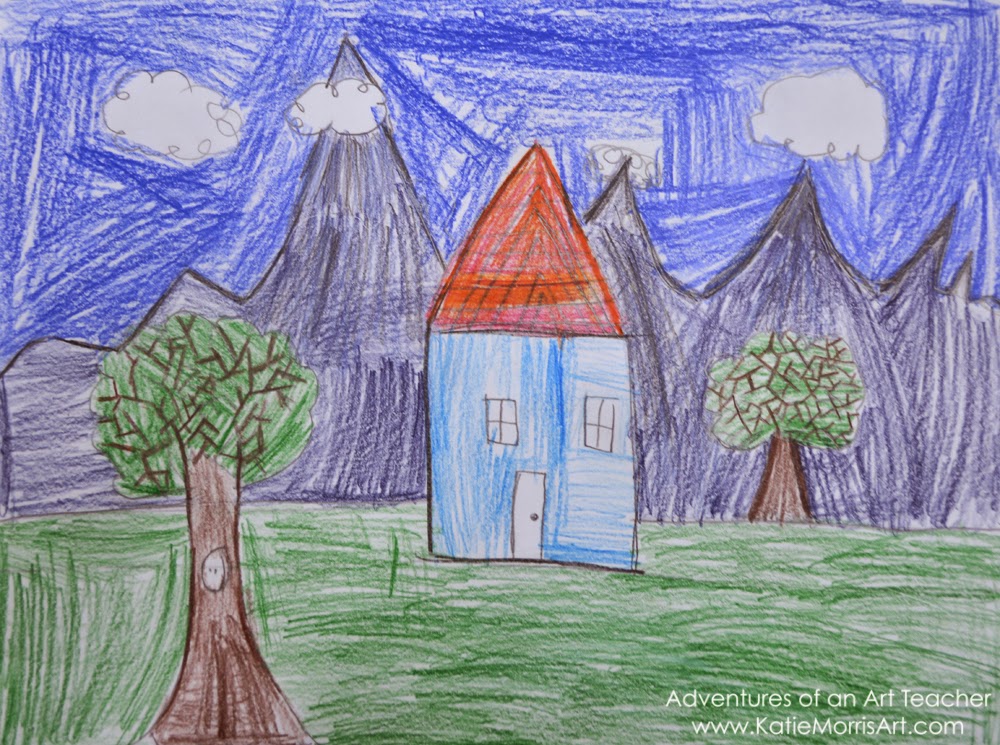
Next we looked at photos of landscapes and talked about foreground, middle ground, and background, the horizon line, and the element of space. Students who decided to make a landscape (I think all of them did) spent the rest of the first class period sketching out their ideas in pencil.
In the second class period, I demonstrated procedures for watercolor paint and for liquid tempera. We talked about the differences between the two mediums and then the students chose which they wanted to use. Most preferred tempera, but probably 1/3rd chose watercolor. 


Most students spent about 3 class periods on their landscapes, some longer. In the 3rd class, I talked about how to tell if your work is finished and showed how you can add other media like oil pastels or colored pencils on top of paintings if you want.
I really enjoyed seeing what students chose to put in their landscapes. A few represented a real place they had been but most chose to use their imaginations and to make a place they would like to visit.

Sunday, December 21, 2014

"Space" Drawings

One of my goals this year was to help students understand simple ways to show space in their artwork. I had some students put their hands together and say "space" as they moved their hands apart to remind them that in art, space means distance. 
With 1st-3rd grade, we talked about layers and overlapping being simple tools for developing space, as well as making objects in the distance smaller and higher on the paper. Even just raising the horizon line a little bit above the focal point instead of having that focal point (a house, a person, etc.) on top of the line creates a bit of distance. Lots and lots of students have all of a sudden become interested in landscapes.
There have been a lot of drawings as well as some wax-resist and mixed media paintings.
It has really made a big difference in improving their compositions!

Sunday, March 18, 2012

State "Space" Symbol Drawings

 There were lots of "S" words involved in this 2nd grade lesson. The Shape of our State was used as the base. The students learned about Space (not outer) and chose to draw at least 5 Kansas Symbols in either the positive or negative space.
One Kansas Farmer: A Kansas Number Book (Count Your Way Across the USA) (Discover America State by State)
In the 1st class period, we read part of One Kansas Farmer, focusing on the symbols for our state like the Sunflower, Cottonwood Tree, Ornate Box Turtle, Meadowlark, Buffalo, Tiger Salamander, and the Honey Bee. We talked about how other things not in the book could be symbols like our capital building and wheat. 
We hadn't talked much about "Space" before so I introduced positive and negative space. I like to stand like a statue with my hand on my head so I can point out that the statue (my body) is positive space and the space around me, as well as the "hole" between my arm and my body are negative space. I showed a piece of paper with the shape of the state of Kansas printed on it and the students identified the shape as positive space and the empty border as negative.

I told the students they would be choosing positive or negative to work in and showed examples of filling the chosen space with symbols. I had lots of pictures printed off for the students to reference at each table. They all "got" the positive/negative space idea, the only challenge was getting them to fill the space. We all know it's tricky to get students to draw big- some would draw their 5 symbols then tell me they were done even though they needed to add more to fill in the gaps.

In the 2nd class, the students used Color Sticks and colored pencils to fill in their drawings. I think that I added a 3rd class period for some classes when the schedule allowed it. When the students finished coloring, they cut out their drawings and glued to a bigger piece of paper. The drawings were started on copy paper so I could reproduce the shape of the state so this step added some stability. I did not tell the students their states needed to face the proper direction, mostly because I didn't think about it in time. Some put their states the "right" way, some just turned the shapes however they wanted.


 Students who finished early wrote artist statements about their work before moving on to free draw. One of the 2nd graders told her teacher this was "The BEST Art project ever!" Kids are so easy to please. :)

Sunday, July 24, 2011

4th Grade Dimensional Paper Pictures


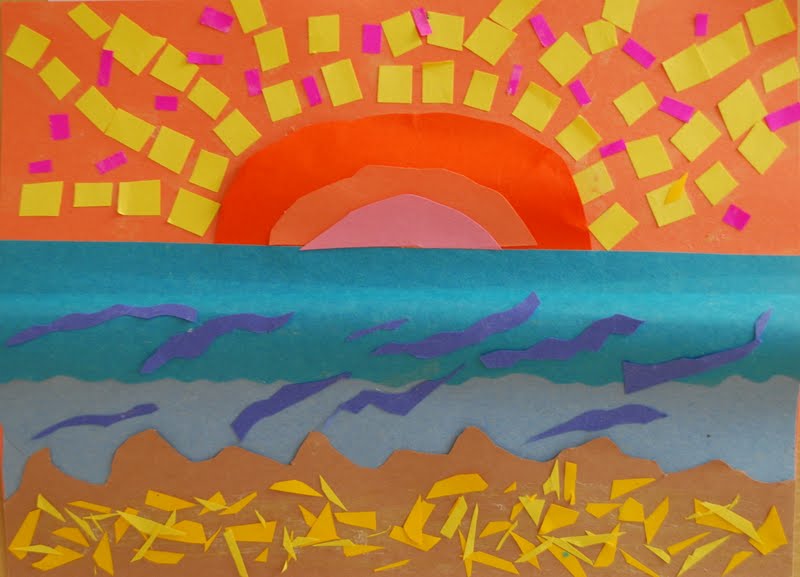
This project was an experiment with my 4th grade students... Not in that we were doing a new lesson (we were,) but in how we worked on problem solving.  I am sometimes too quick to just give students an answer when I should be challenging them to come up with their own solutions.  I also purposefully did not make a finished example because I wanted the students to make their own choices instead of the same choices I made.  Sooo, I explained the assignment (make a picture of a still life or landscape out of construction paper that is three dimensional) and showed the students a few techniques like tearing, curling, crumbling, folding, to create texture and dimension.  I reminded the students that they might have to make tabs to attach the paper and let them get started.  When a student asked me a question, I didn't answer it right away.  I tried to ask them questions to guide them to a solution or encouraged them to ask classmates that looked successful what techniques they were using.  

Honestly, this freaked out a lot of my students.  I think if I work harder on questioning the whole school year instead of just trying it out at the end, it would go more smoothly.  But hey, this blog isn't just about success stories, I'm trying to include my learning as I go.

This was a two class period project.  At the end of the second class period, I had a student say, "Hey, this looks kind of cool at the end!"  I guess that's why it's good to have a finished example, so the students can see where they are headed.  I just get so frustrated when students copy my work because they think it is THE right way to do it.  Even if I take the example down after I show it, I still have students with apparently photographic memories that copy it.  And if I catch them in time, I make them change something so it's different than mine.  Unfortunately, I don't always see it until they are mostly done!

I also touched on foreground, middle ground, and background to create space but it didn't click with most of the students.  Something else I need to do a better job of next year!


This student incorporated mini origami birds which I love!