Showing posts with label drawing. Show all posts

Wednesday, January 6, 2021

8th Grade Space- a Choice Based Art Lesson

 I have struggled this year with not being able to find a way to give my middle school class as much choice as I usually do. The class is big for my classroom so social distancing is tricky plus supplies I wanted for their personal art supply kits were back ordered so they’ve mostly used drawing media. I wanted to cover a topic while at least allowing them to choose their direction so after observing the need in their independenent drawings, I picked the concept of space! 

1 point perspective practice2 point perspective practice
We did some warm up activities and skill builders like practicing one and two point linear perspective, a simple landscape with atmospheric perspective, and a design using negative space. When it was time to plan their project, students could choose from suggestions or come up with their own idea as long as they used space!

Negative spaceNegative space

Modified one point perspective project
I needed to modify a lesson for a student so she directed what shapes she wanted and where she wanted them. I printed out the design on card stock so she could connect the edges to the vanishing point. 
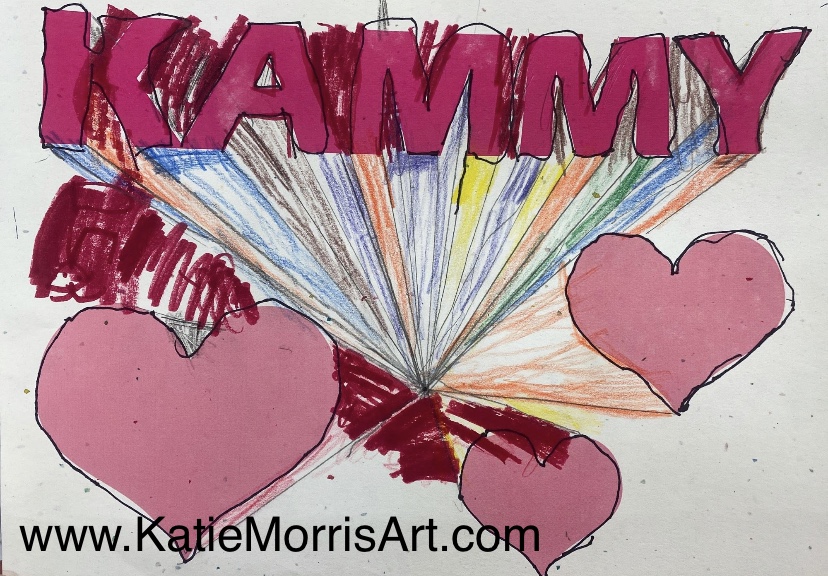
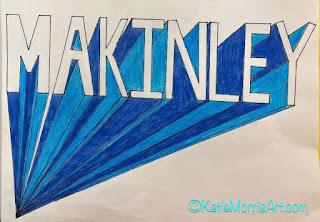
One point perspective name


Tuesday, October 13, 2020

Embrace the Grid

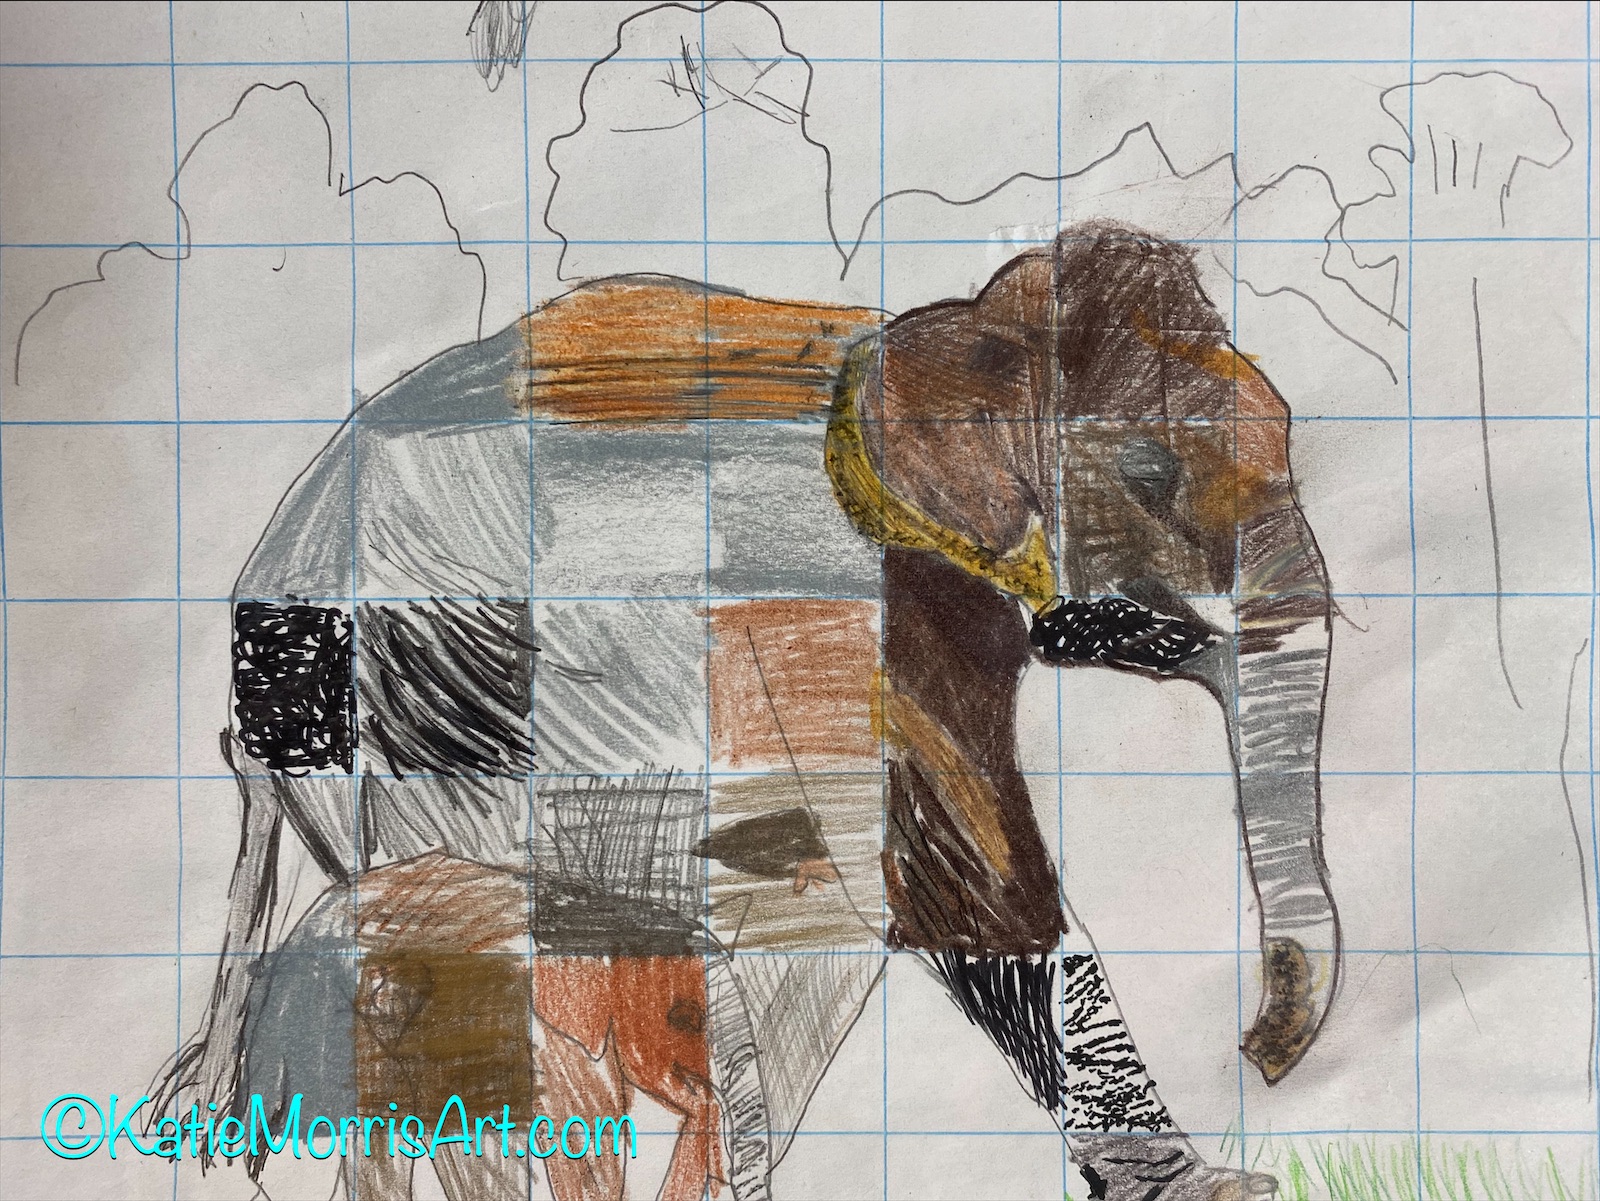
I like to introduce grid drawing to students so they know it's a tool they can use if needed, but I didn't want to spend a lot of time on a traditional project that would take a long time to complete. I was also on a mission to make sure that students know how to use the materials in their personal art supply kits and are comfortable using them. That's how this project was born!
Here is my test before introducing it to the students- a drawing of one of our roosters.
Instead of hiding the grid we embraced it, switching technique or medium in every neighboring square. Students could use their own photo or a creative commons photo. We printed the photos with the grid on them and then drew on one inch grid paper with thin blue lines.

Tuesday, May 12, 2020

#StyleChallenge

Today I want to show you an instagram challenge that I used as a lesson for my students during continuous learning. I assigned this to my graphic design students and it was later a choice for 7th graders and the rest of the high school students. 
I thought the students would enjoy this since they can use shows they already like as inspiration. I think I will use this next year when we are hopefully back at school but I will probably make some type of planning sheet where students can add images from the style they are researching and take notes on the characteristics of the style. I think this is a good way to learn about being inspired by a style without just copying it. As much as I explained, I still had a few students just draw the regular characters from the show, or choose a character that looked like them without making changes. Working from home, you take what you can get. But I think this lesson has potential!
My example of the #StyleChallenge- I want to redo the Bob's Burgers drawing but I'm pretty happy with the rest.
Click HERE for the Google Doc I used to explain the project. I included lots of examples of other artist's challenges.

What is the Style Challenge?
The style challenge was started by an instagrammer, @beautifulness87. The idea is to draw yourself or a character in the style of different cartoons.

Some popular styles 
  • The Simpsons
  • Powerpuff Girls
  • Your own style
  • Realistic
  • Disney
  • Tim Burton
  • Dragon Ball Z
  • Adventure Time
  • Invader Zim

Rationale:
This assignment will show your ability to understand what makes a style and apply that to drawing a self portrait. You will learn to reference images while creating something new and not just copying. 

Your Assignment:
Create at least 2 self portraits in the styles listed above or any of your favorite cartoons. They can be on one page or multiple. You can do more than 2!

Supplies: whatever you have available at home.
I completed my challenge digitally using the free app Adobe Draw. You can use an app, pencil and paper, markers, colored pencils, whatever supplies you can find. If you don’t have drawing paper or copy paper, you can draw on the back of something, a piece of cardboard, the inside of a cereal box, etc. be flexible and get creative.
DO YOUR BEST WITH WHAT YOU HAVE AVAILABLE

Turn in: Either a photograph of your drawing(s) or image file that you upload to Google Classroom.

National Visual Arts Standards
VA:Cr1.1.HS1- I can generate and conceptualize artistic ideas and work.

Graphic Design CTE Competencies
5. Create and produce content.
6. Create and refine design concepts.
12. Create graphical images.
16. Use available reference tools as appropriate.


Thursday, November 7, 2019

8th Grade Neon Paintings


 In late July I attended and presented at the TAB KC summer conference. A couple of the ideas shared were drawing with India ink in bingo daubers and making neon artwork and letting it glow under a black light. These idea were a huge hit with my 8th graders!

Disclaimer: I used Amazon Associates to link to a couple of the products we used for this lesson. If you happen to purchase the items through my link, I may earn a small commission but it does not charge you any extra.


I set out some large pieces of drawing paper and let students practice with the bingo daubers before they started on their own paper. This let them get the feel for it and approach their drawings with confidence. It doesn't work very well to have students draw it out in pencil first since the tip on the daubers is much thicker than a pencil. They have to learn to loosen up and embrace and "mistakes" that happen. The bold outline also gives it a pop art feel.
I ordered some neon supplies off of Amazon. Others were purchased from my local Walmart.


Did yo know that not all white paper will glow under a black light? If this is important to you, check your paper before students begin so they know how to plan. Some of the paper I had glowed but not all. I never figured out the difference since the paper had been removed from the packaging long before. Our white paint also did not glow.
When students thought they were done painting, they put their work under the black light as a test. I put a black lightbulb in a small lamp and placed it in the kiln room so it would get dark enough to see.


Since I couldn't figure out a way to get a black light in the hallway we settled for a printed photo of the picture glowing under a black light so viewers could see the intention.

Thursday, October 24, 2019

1st grade Circus Drawings

My elementary school chooses a theme each year and this year's theme was circus! I like to kick off the school year having students create artwork with some choices within a theme and/or medium to ease into things so using the school's theme works perfectly. My 2nd graders looked at Marc Chagall's circus art and 1st graders looked at examples of Chagall's and others' artwork. If I ever need to find a variety of artworks based on a theme, I start with wikiart.org and just search for the keyword. That usually give me lots of options so I can show a bunch of different styles, time periods, cultures, etc.
After looking at the artwork, I asked the students to think about what kind of act they might like to do if they were in the circus. They thought of clowns, tightrope walkers, horse riders, and more.
The students sketched their ideas in pencil first then added color with marker. I'm usually not a big fan of markers and honesty considered just recycling my old markers because students tend to be sloppy with them, but then I received a box of Sargent Art supplies when one of my students got 1st place in the Kansas Sargent Art Contest last year. Included in the box was a class set of 12 count brush tip markers and I decided to let the students try them. You guys, they were SO CAREFUL with the "fancy" markers! I got out the broad tip markers we already had for big areas, but they did a great job using the finer brush tip markers for little details. 
Students starting to add color to their drawings


When the drawings were finished we put them up in the display case across from the 1st grade classrooms. I used butcher paper to make the display case look like a circus tent.