
Showing posts with label Teaching for Artistic Behavior. Show all posts

Saturday, January 4, 2020

Genres Around the Room


The basic tenants of a TAB (Teaching for Artistic Behavior) classroom are:
What do artists do? 
The child is the artist. 
The classroom is the child's studio. 

This school year before my high school students started their drawing boot camp, I wanted them to think about the first question on the list: What do artists do? 
I wanted them to understand some of the traditional categories of art and introduce some that they are less familiar/comfortable with so that when it was time for their first choice artworks, they would have a foundation to build on and some new ideas of what is possible do they could answer another question: What can I make? The Around the Room structure created by Cynthia Gaub worked really well to accomplish this goal.


Here is a list of the activities we did, although I did this before  the drawing/collage boot camp instead of after as I originally considered.


Portraits
For portraits I created some basic "how to" sheets with steps or notes about drawing facial features. I asked students to draw at least one nose, eye, and mouth for practice.

Students drew facial features on a head template to practice placement. I explained that observation is more important but the basic proportions are helpful to know so you can troubleshoot if something doesn't look right, or for when you are drawing from imagination/memory.

One of the activities was to finger paint a portrait of the student across from them. I forgot to tell my high school students not to paint ON each other so if you try this, learn from my mistake.

The last activity was to trace the contours of a magazine portrait. I know it sounds weird, but I explained to the students that it can help you build muscle memory and feel how the parts fit together.


Still Life
Somehow I didn't take any pictures of the still life activities, but here is what we did.
  1. I had a very busy still life scene set up with lots of found objects. Students were asked to zoom in, try different angles, etc. to practice composition in a photo.
  2. I set a little wooden chair on the table and asked students to draw the negative space instead of the positive. This was a difficult concept for them to understand- the empty space AROUND the chair instead of the chair itself. I explained that checking the negative space is a handy tool when drawing because it can help you figure out size relationships.
  3. Contour line drawing- I had a collection of objects on the table and asked students to choose one to draw the contours of, focusing on accurate observation. Learning to see is an important skill not just in art and even my students who prefer to draw from imagination tend to be more confident when they have a foundation in observation.
  4. I pulled out the tub of wooden forms that includes cones, pyramids, cubes, spheres, etc. and students practiced drawing them with depth. (Later in drawing bootcamp we talked more about perspective.)
Landscapes
Students had two activities for landscapes. First was to make a torn paper collage with background, middle ground, and foreground.
The 2nd was to use the ProCreate app to make a digital landscape using layers. We don't have enough iPads for everyone so some worked with a partner.

Abstraction
My example of breaking a composition down to simplify into abstraction.
The first type of abstraction the students practiced was through simplification. The students chose their favorite photo from the still life composition practice and abstracted it. This was also a difficult concept for them to grasp! I was talking to my teaching neighbor after school and he suggested showing the scene from Inside Out where they enter "abstract thought". I showed the clip the next day to reteach but I wish I'd thought to show it first!

The 2nd activity in this category was nonobjective vs abstract. I had cut sections of magazine pictures out that were interesting in terms of color, texture, lines, etc. but were just a small part so you could not tell what the original thing was, and glued them in the middle of a piece of paper.  The students used their choice of drawing supplies to start with the magazine piece and fill in the rest of the paper creating a nonobjective design.
Imagination
The imagination activity was included in the same day as the abstract/nonobjective. Students went to www.artprompts.org and made a drawing based on one of the prompts. Artprompts.org gives you ideas of something to draw that aren't easily google-able. 

Reflection
On the last day I set out art prints organized by genre on different tables. Students rotated through each genre and wrote about their favorite piece. At the end I asked them to think about their favorite genre and why they like it. After our drawing/collage boot camp, students created work and identified the genre within which it fit.
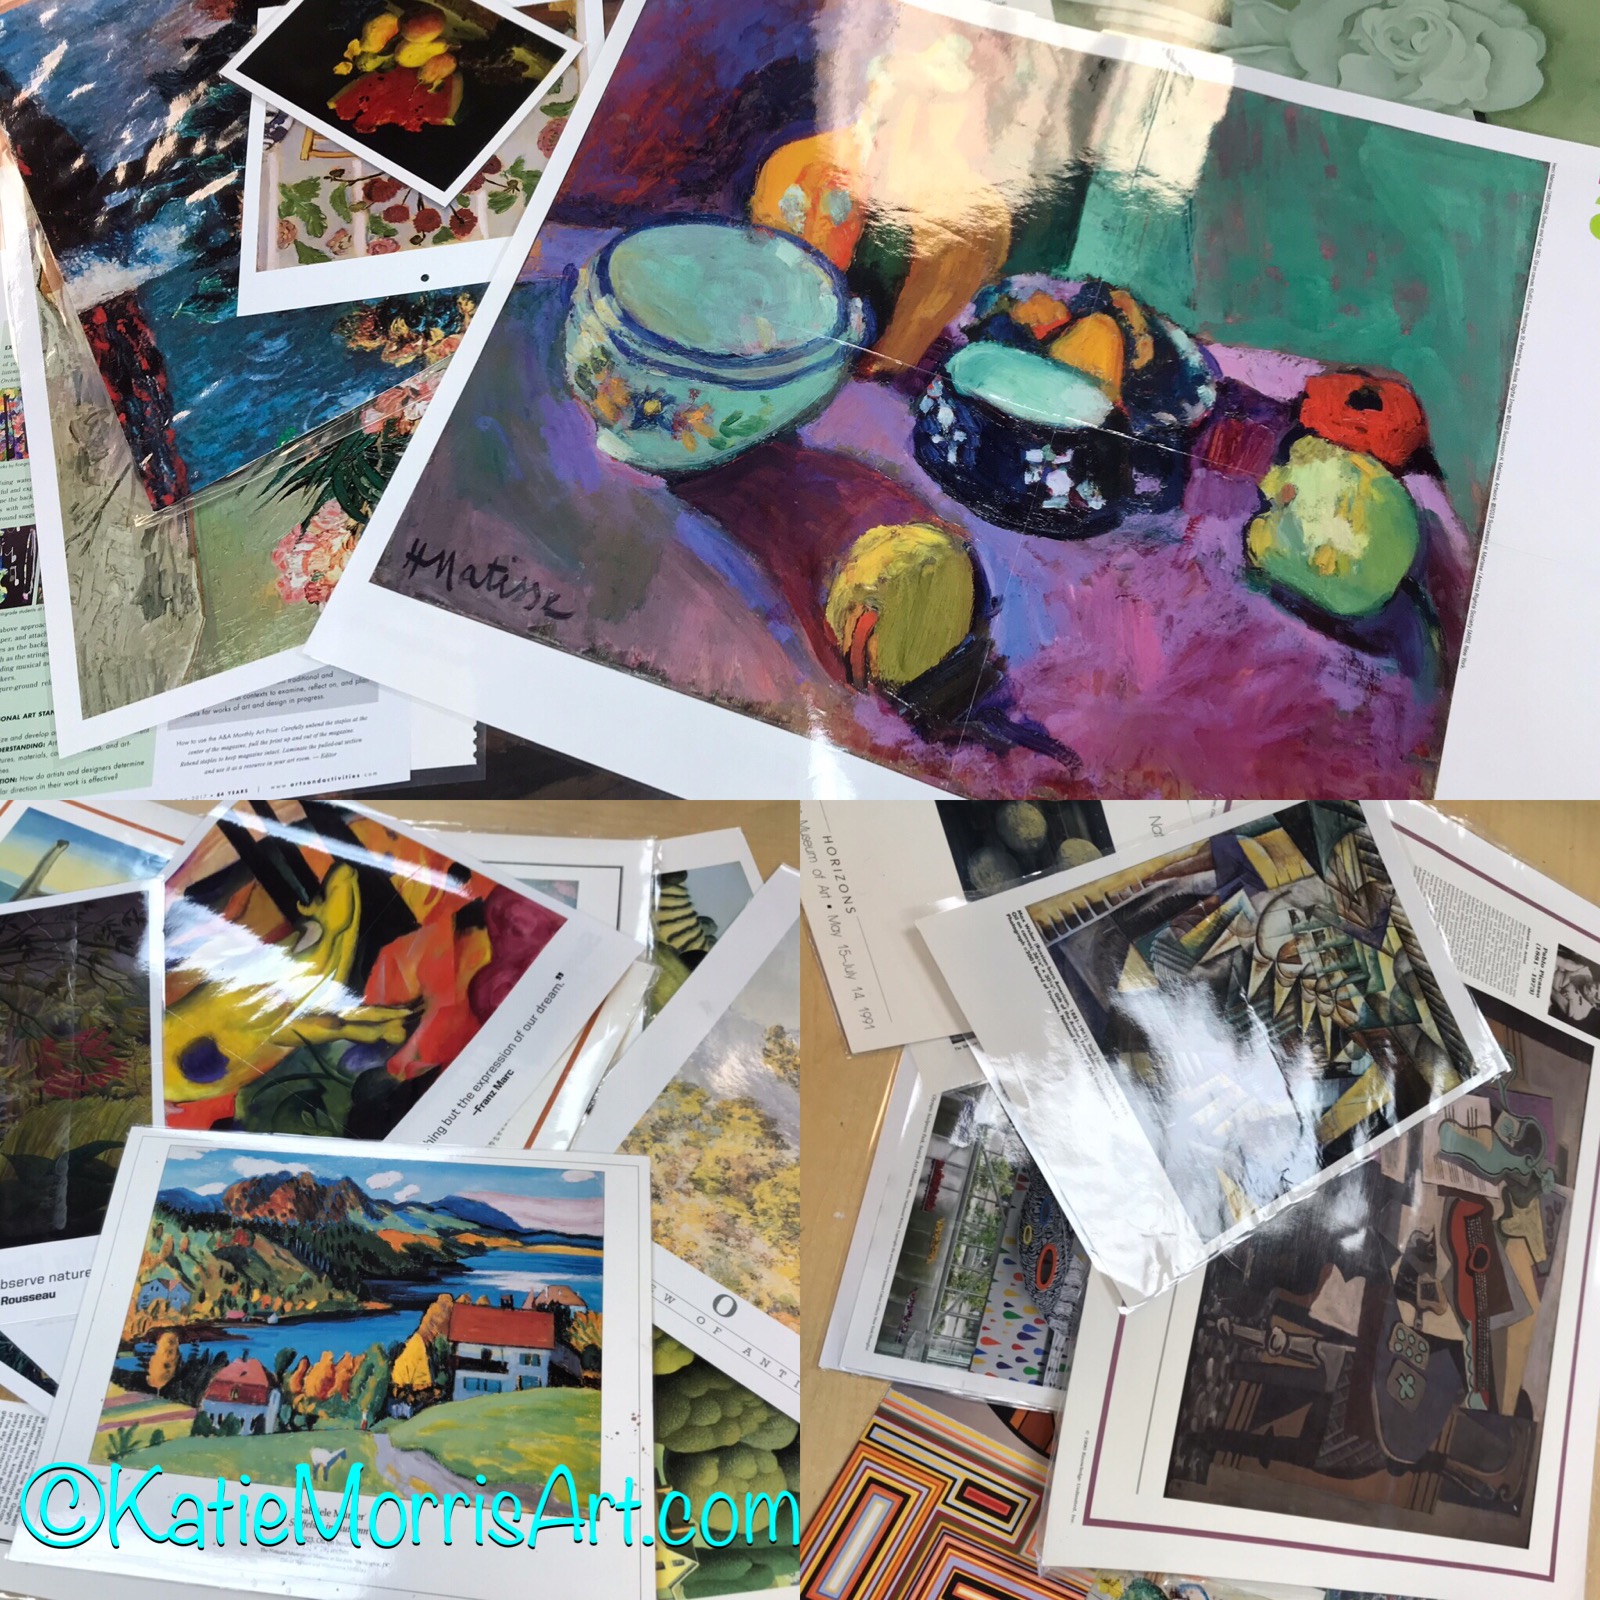

My favorite part of the reflection was when a student that had been complaining about having to try abstraction for a day, realized he chose the most abstract example in each genre as his favorite. It's fun to challenge students' notions about art!

Sunday, May 21, 2017

TAB & Seasonal Artwork

One thing that people say they would miss in a TAB classroom is the traditional seasonal projects that students, staff, and families look forward to. I just wanted to share that festive artwork can still come out of choice-based classrooms! 
Last October (yes, I am suuuuuuper behind on blogging) I saw a bag of some cool little pumpkins in the produce section and bought them thinking that some students might be interested. I used the pumpkins for a demo in my 1st grade class, showing how I look at the individual sections instead of drawing a circle, and that observation helps me get the overall form drawn more correctly. I went ahead and reviewed some tempera techniques since students had been asking to paint and then I gave the students the option of taking a break from whatever they had been working on to draw or paint pumpkins or to continue with their own work. All but one student chose to paint a pumpkin. Their grade had recently been on a field trip to a pumpkin patch so there was a lot of excitement. 
I helped distribute requested paint colors and spread out the pumpkins for tables to share and then let students work. Some covered the whole surface of their papers with paint and some were satisfied after practicing the drawing. Some added scenery or turned their pumpkins into jack-o-lanterns and some left the pumpkins simple. The students used a traditional subject for fall art classes, but they chose how to engage with it and were absolutely delighted! I think the moral of the story here is that you don't have to "give up" special things that are important in your school community to TAB. It's about honoring the students as artists- giving them the choice and the voice to do it their way.

Bonus- if you like to incorporate other content areas, I found a great book at our local library that has estimation and counting in it- How Many Seeds in a Pumpkin by Margaret McNamara. If I had more time with the students we could have cut up the pumpkins when we were finished to see how many seeds they have.
I need to remember that there are nice display cases across from the 1st grade classrooms and take advantage of it! My classroom is at the high school so I don't always remember.

One of my friends started using TAB with her youngest students last year. She does a good job of putting out challenges in her centers and she has had some really successful themes! You can see more of what she's up to on her Facebook page or her blog, Ag Wife Artist Life 

Sunday, December 20, 2015

Opposites

Now that I've made it through my first semester as a PreK-12th grade art teacher, I wanted to write some posts reflecting on what worked well and what didn't. I've been exploring Teaching for Artistic Behavior (TAB) for a few years now but this was my first time to try it out with 7th-12th grade. 5 hours of my day are spent with high school students- 1 hour is advanced art, 1 hour is computer graphics, and 3 hours are "graphic design". My advanced class assignments have been theme based. I think most of the themes are keepers but next time I may introduce them at a different time of year or with a different intro. Part of getting to know my new students and new school environment has been trying to find the fine line between giving them enough of a direction to get started but not so much that they imitate. A lot of students have a bad tendency to find an example online and imitate it with minimal changes (which cued the fair use lesson I'll try to remember to write about later).

One of the first themes I assigned was "Opposites". I gave students a brainstorming sheet to help them get started.

Opposites
We are going to be exploring the idea of “Opposites” for our next project. To begin, brainstorm a list of words and their opposites. The words can be adjectives like heavy and light or they can be more abstract ideas.
1st Word Opposite


Choose one pair and decide how to use it
Pick the opposite pair that is most intriguing to you. Brainstorm ideas on how to use those in an art project. Your project could be 2D or 3D. The choice of media is up to you.

Mrs.Morris’ example
Opposite pair: Heavy and Light
Idea: Make a sculpture of an elephant (something very heavy) out of feathers (something very light) so that the sculpture is almost a contradiction.

My idea Describe your idea with words or thumbnail sketches. Present ideas to Mrs.Morris before beginning. Use the back of the paper if you need more space.

 The first example posted above used the opposite pair of "good and evil" with Little Red Riding Hood imagery.
Fire and Ice- the student used the same profile but flipped so it was like two versions of the same person.
 Young and Old- the student superimposed a photo of her grandparents' wedding onto their mirror using Photoshop.
 Heaven and Hell- fiery background to represent hell and tissue paper angel wings to represent heaven. Another student also did heaven and hell as almost tourist attractions but I somehow missed taking a photo of the painting.
 Chaos and Calm- someone taking a relaxing bath during a zombie apocalypse. There are some little perspective issues here but the idea was interesting.
 Rich and Poor- the student had the idea of constructing a mansion out of trash. There was just a ton of detail put into this project, even windows cut from some sort of packaging plastic.

 Thi sproject was originally going to be Life and Death but it turned into positive and negative or black and white. 

Complementary Colors & Composition- paintbrushes painting opposite colors in opposite directions.

I wish... 

I had found some examples but made those word pairs off limits. I actually didn't SHOW any examples for this project, just talked about ideas because I was fighting the imitation problem. I also wish I'd saved this theme for later in the year because I really like it, I think it has a lot of potential, and it wasn't quite reached. I'm not unhappy with the students' work, I just think if I had done it later in the year after they'd worked more on developing ideas, the work could have been even better.

Sunday, September 28, 2014

Progress in Choice Drawings

5th grade student's artwork inspired by her favorite book series.
Yesterday I saw a question posted by the Art of Education on Facebook- 
Have you considered implementing more choice in your art room? What are your biggest concerns?
...and of course I had to chime in. Before I switched to TAB, I had a lot of the same concerns as many of the other teachers commenting. This is what I wrote:
"I started choice almost full time last year. I work in two elementary schools and have almost 800 students. I see my younger students 40 minutes weekly and my older students 40 minutes twice a month. I had many of the same concerns before switching. I don't tell the students "you can do anything". I tell them you can make a painting, drawing, weaving, (whichever centers are open) AS LONG AS you are putting in thought and effort, doing your best work, and working in it for more than one class. We have discussions about what that should look like, which obviously depends on the age of the student. I had to make a "no cards or posters" rule and that takes care of a lot of issues. I also started using artist statement forms so when the work hangs in the hallway, viewers see the thought behind it."
This is one thing I love about blogging- being able to look back to reflect on my practice and see how the students and I have grown. Many teachers are afraid that they'll get a lot of hearts, smiley faces, etc., and that is a valid concern. I saw it happening with my students at first so we had a discussion. 
If you love rainbows, you can put them in your artwork. But do you think it would be better to have just a rainbow and a line of grass, or have a rainbow as one detail in a more thought out artwork?
Some kids want to draw their favorite cartoon or video game all the time. It's a safe place to start. I usually let them do one to get it out of their system, but then encourage them to move past that to something else. When I look back at some drawings from the end of the year, I see a lot of growth from my students. They are starting to figure out how to work in their interests in a more mature way than just drawing them floating in the middle of the page. 
 Another thing I love about choice art is that students can work at their own pace, within reason. I did have to say that (most) projects should take more than one class period to get the students to SLOW DOWWWWN and I don't think I've ever felt I needed to tell a student they worked on something for too long. I expected to go through more supplies, but other than more liquid tempera, which is the most popular paint choice, and construction paper, which I just didn't think about using all that often before, I've used less of most supplies. Some students want to work fast, but many students are content to work on projects for longer periods of time than when the project was my idea. Some students were just too rushed before and rarely finished anything, like the artist of the little red eared slider. This little guy always seems anxious and though he works the WHOLE time, he just works slower than the other kids. The turtle was off to a really great start. He worked on it for I think 4 class periods (that translates to two months) before I told him he could leave the background empty if he wanted. 
 This student drew himself in his football jersey and then didn't know what to do with the background. After we talked for a few minutes he decided to create a football field on green paper then cut and glue himself onto it. 
 This colored pencil drawing of a kingfisher would have been entered into a contest if the student had finished it in time. He worked on it for I think 5 classes, trying to get everything just right.
Self portraits are torturous to many students but drawing a portrait of a celebrity is more popular. This 5th grade student saw a photo she liked in a magazine while a classmate was looking for collage materials and showed a lot of improvement working on facial features and hands.