We spent at least the first 9 weeks of school being inspired by Native American artists and art forms for part of our district's Cultural Heritage focus. Jewelry is always a popular option with students, even 6th graders who are sometimes starting to get "too cool for school". I found several examples of really beautiful, colorful jewelry made by Native American artists in the Southwest Pueblos and came up with a project inspired by the stone inlaid jewelry using mostly recycled or very low cost supplies.


Materials
Matboard Scraps (cut into geometric shapes)
Aluminum Foil (cut big enough to leave 1/2 inch border on all sides of matboard)
Masking Tape
Sharpies
Magazines
Mod Podge
Mod Podge brushes
Paper Clips
Glue Gun
Yarn or String for hanging
 We looked at lots of pictures of stone inlaid jewelry- there are several examples on my Native American Art Pinterest board- and discussed the shapes, colors, space, and how the real jewelry is made. Next, I gave a demo and the students got started. Most of this project, aside from the drying, can be completed in about 30 minutes.
Here are the simple steps:
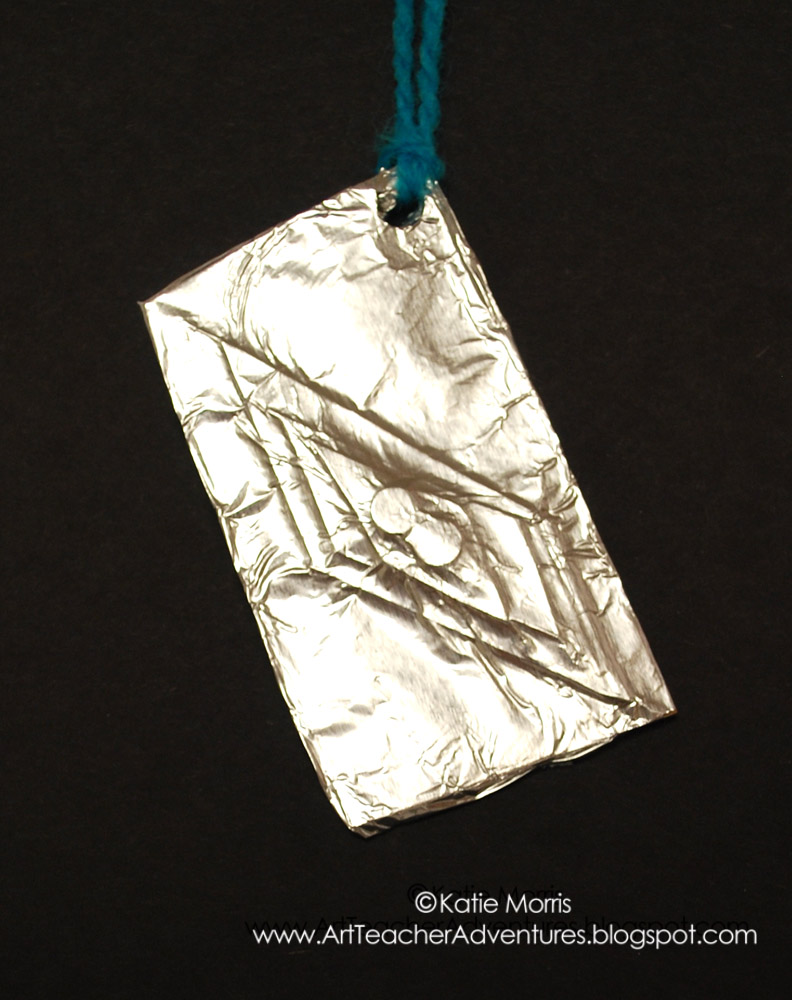
- Choose a piece of matboard and wrap it tightly with foil, "like a present", shiny side out.
- Tape edges of foil down on back, write name on masking tape.
- Scan magazines for "swatches" of interesting color and texture.
- Cut magazine swatches into shapes and arrange on top of foil-covered matboard. Experiment with how much space to leave between shapes for different looks.
- When happy with arrangement, use a mod podge sandwich to glue and seal magazine shapes- mod podge, paper, modpodge. Coat entire surface of jewelry with mod podge.
- When dry, use a glue gun to affix a paper clip hanger to the back. You can break a paper clip in half and get two hangers out of it.
- Choose a piece of yarn or string long enough to fit over your head once tied, slip it through, tie, and enjoy!

 To display: At first I had some time and was feeling fancy so I cut scraps of black matboard into squares, cut two slits distanced across the top, slid the yarn through, and secured the extra yarn on the back. When more were coming in and I couldn't keep up, I stapled the yarn to a piece of black construction paper which still looked nice displayed in the hall.


I wish I would have taken more time photographing- that shiny foil was tricky!

Here are my examples. This was a lot of fun!