
 The end of the school year almost always leaves me with an uneven schedule- depending on the grade level and day of the week and if we've had to reschedule for field trips/assemblies/field day, etc., there is usually a need for some one class period projects. This is the first jewelry project I've ever taught at the elementary level and the students were SO PUMPED! They got to design and create a piece of jewelry and wear it home the very same day.
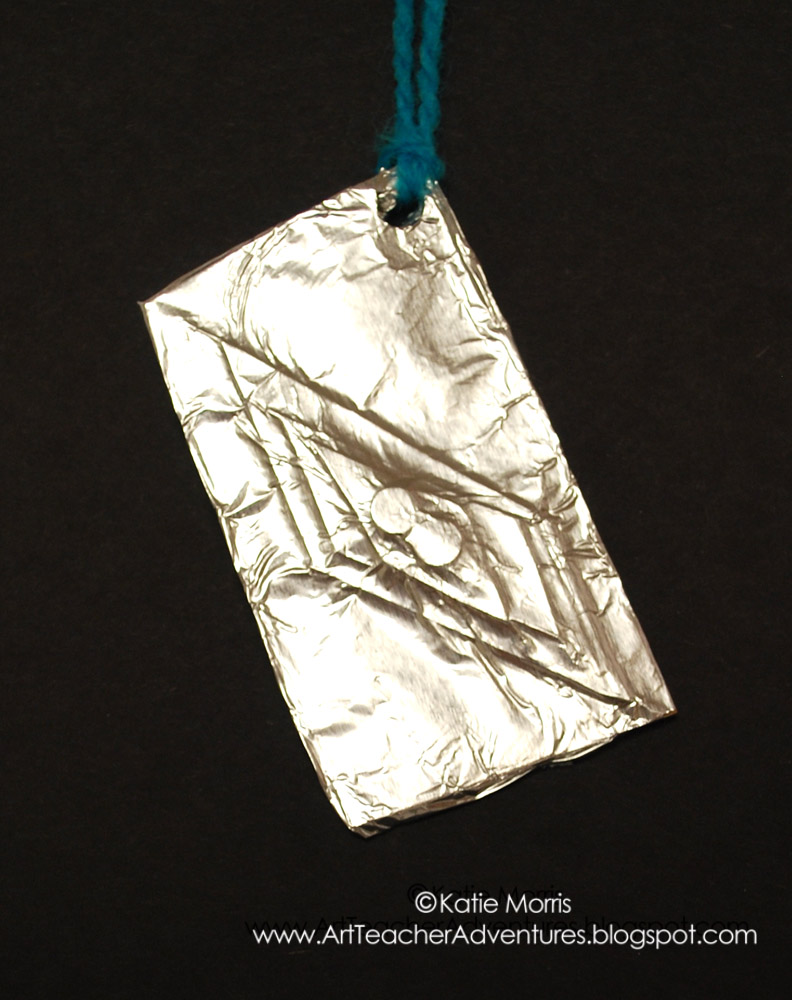
Last year I tried out a bas relief sculpture lesson where the students cut and layered cereal box cardboard, covered with foil, and embossed. None of us were super into that lesson, but I couldn't get the idea of shrinking it down into jewelry out of my head. We can pretend they are sweat soldered pendants. :)
To introduce the lesson, we talked about why people wear jewelry and covered: fashion, status (rich, royalty, etc.), symbol (wedding ring), safety/protection (medical alert, St.Christopher's medal, etc.) and probably a few other categories that I could tell you had I written this in May instead of July. We looked at a few photos of jewelry online before I launched into a really quick description of relief sculpture, a basic demo, then the students got right to work. I had precut squares and rectangles all around 2 inches in size for the base, then had scraps from lots of other cereal boxes that the students used to make their layered designs. Before covering with a piece of foil, the students had to decide how their pendant would hang and punch a hole. After embossing, the students chose a piece of yarn and started modeling. Some early finishers were eager to make another piece right away.


This worked pretty well as a 40 minute project, but I would love to stretch this to 2 class periods to spend more time on history and design. I think most students would benefit from making a few thumbnail sketches and talking about which design is strongest before beginning construction.


No comments:
Post a Comment