Showing posts with label winter art project. Show all posts

Thursday, March 4, 2021

Digital Snow Globes

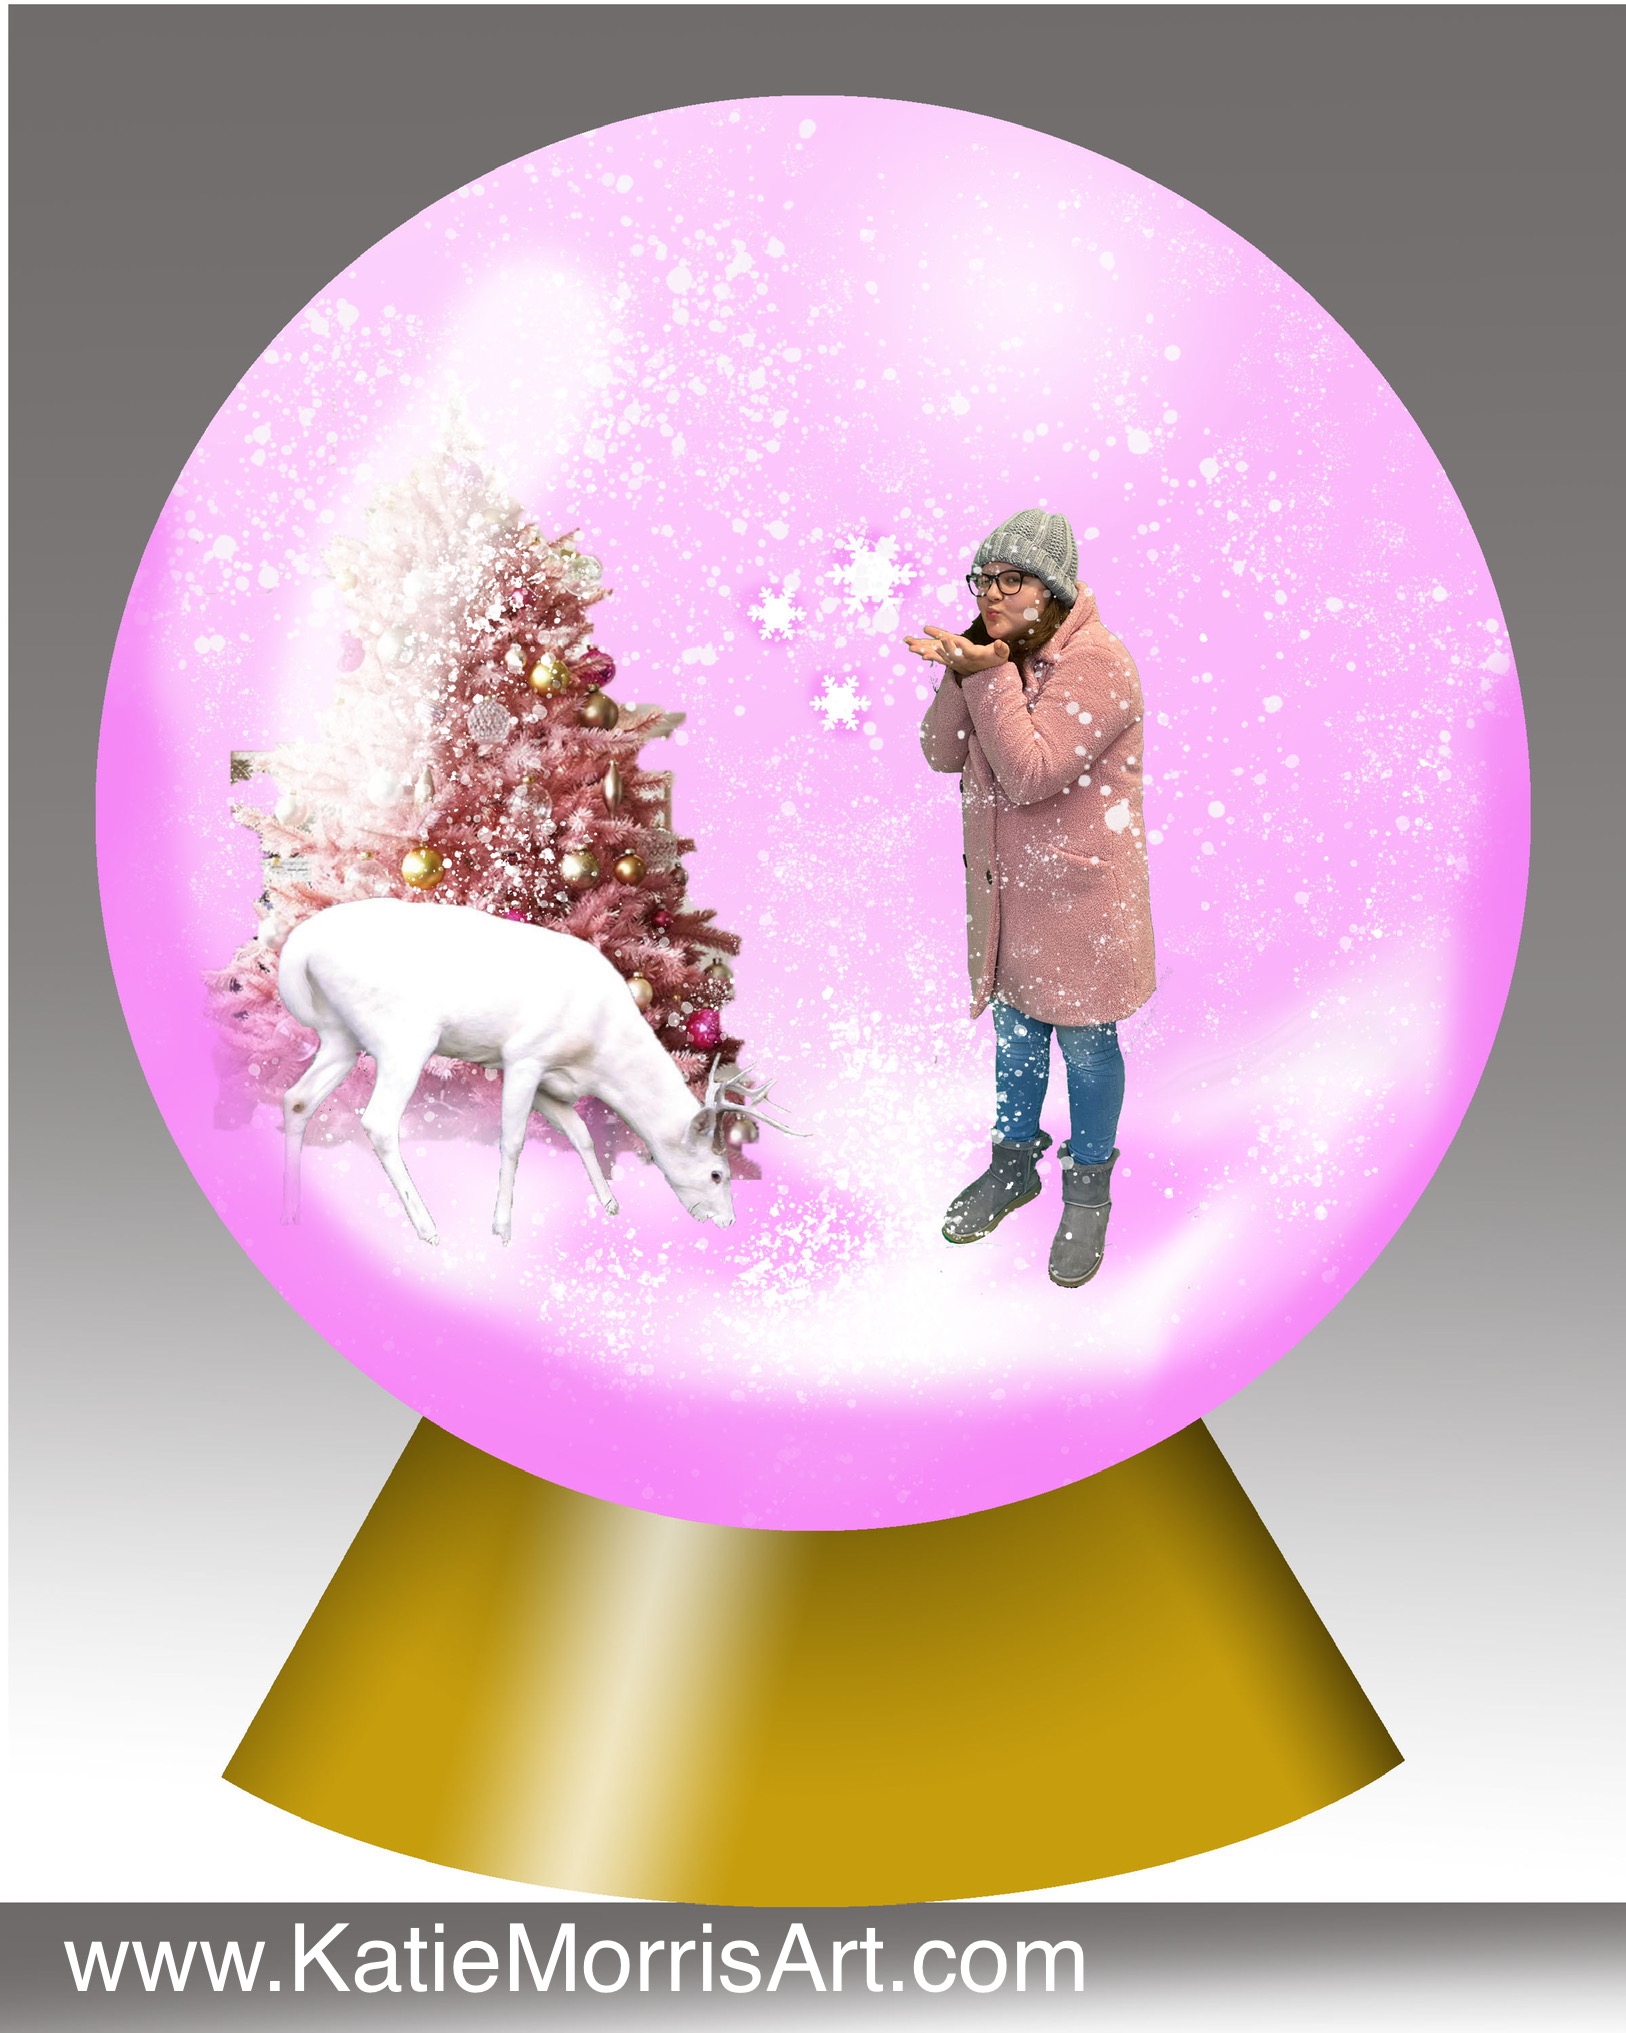
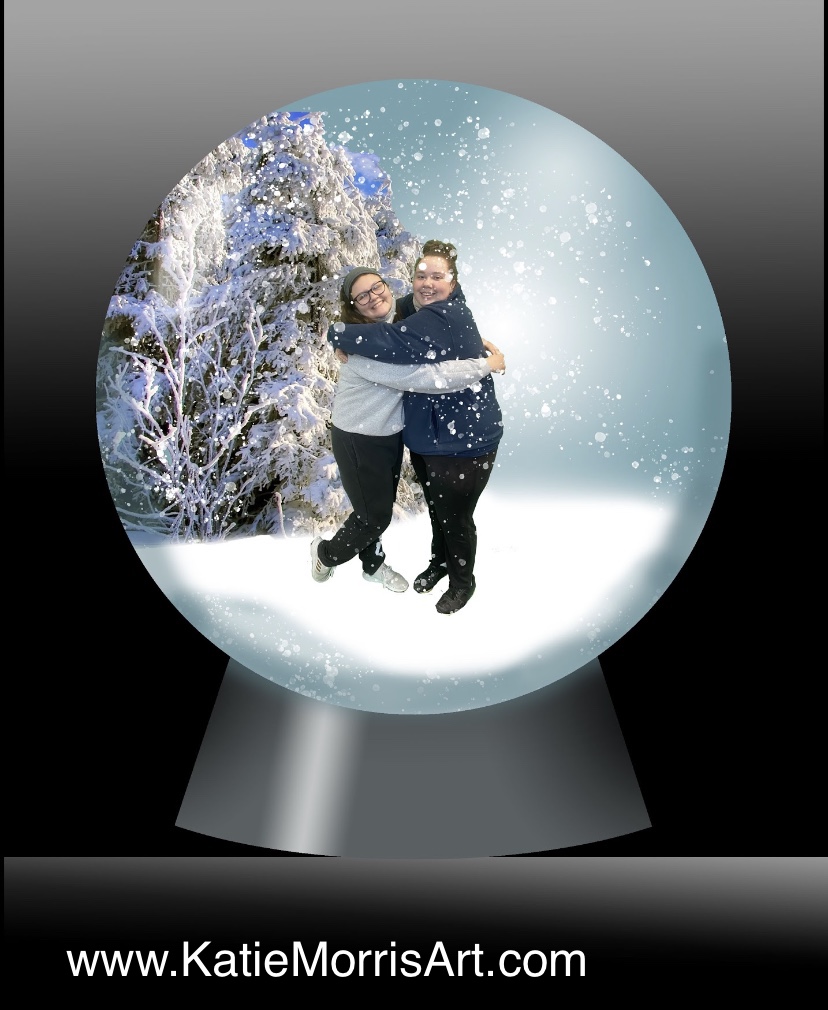
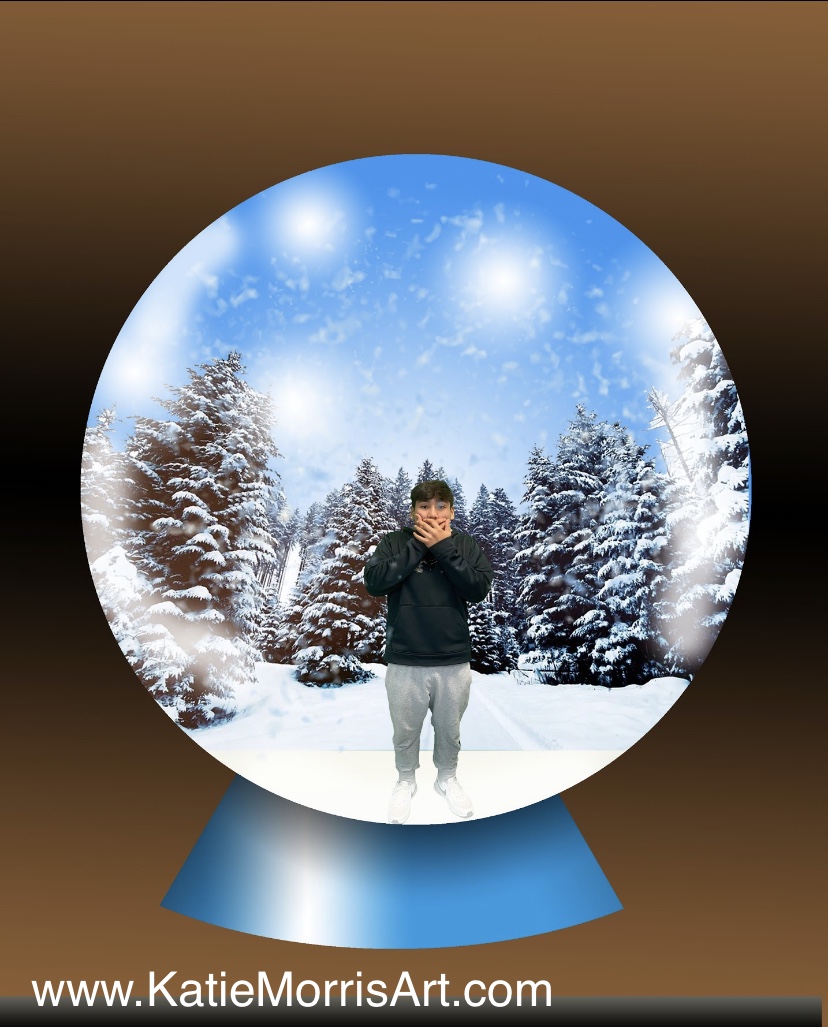
In December right before winter break my intro graphic design students "Photoshopped" themselves into a snow globe. We were able to review some of the basic skills we had already covered and introduce a few new skills. This project was fun to do and got a lot of nice comments when they were on display!


I posted the full demonstration on YouTube- you can watch the playlist here! https://youtube.com/playlist?list=PLkaa-S6cQns_fqbVhmsF14l3Y5ztRYOD_

My example
Students were able to choose what to include inside their snow globes.


Snow globes don't have to be snowy. This student chose a beach theme.

Someone suggested adding a fisheye effect- I didn't think of that in time so I will have to test that idea next year!


Monday, January 9, 2012

2nd and 3rd Grade Snowpeople

Here are a couple snowpeople projects my 2nd and 3rd grade students completed in December. I have to say snow"people" because you know, it's an inclusive term and doesn't leave out the lovely snowladies.

2nd grade students learned how to overlap circles and create the look of spheres by adding VALUE with oil pastels. We've been on a value/shading kick in 2nd grade. My Tuesday classes who had an extra day practiced drawing and shading spheres in graphite in the first class then finished drawing their snowpeople scenes in the second class. Some still don't quite get that the shadows would always be on the same side but at least they are starting to understand shading. I'm hoping it will help when they start working on their duck stamp drawings in a few weeks. I left this lesson last year when I was on maternity leave and I think it went pretty well this year. I wasn't super excited about it, probably because it's a lesson you see all the time, but I suppose there's a reason it's tried and true! One little boy put his snowman in a leather jacket, which was super cute, but then he colored his sky in black behind it and it sort of disappeared. We're working on contrast...


 I had intended for 3rd graders to make snowpeople prints. but we made some changes.. 
I demonstrated overlapping the circles to make them look like stacked spheres on a snowperson, both as if you were looking straight at it and as if you were looking up to give them more options, then reviewed horizon lines. The students had a lot of freedom- their only requirements were to make a snowperson with overlapping and a horizon line. Any other features and details were up to them. They drew on these dense fiber board things, I really have no idea what they were used for but they are awesome, then traced with glue. *Of course when you trace a drawing with glue, you have to remind the students not to draw anything too small and to leave space between things so the glue lines don't run together or turn into big blobs. This started as another lesson I left during maternity leave.
 Last year the students used rainbow crayons made from recycled crayon stubs to rub over paper and make their drawings show through. I thought it would work to print the glue lines but when I tested mine, the glue was so bumpy that it was hard to make out the picture. I knew the students' lines were even bumpier so we changed the plan. I used it as an opportunity to talk to the students about problem solving and things not always going how we plan. I wanted to show them that even though my first idea didn't work very well, I didn't give up, just came up with something that would work better.
I haven't decided if covering the tables with vinyl cloths save time or not when cleaning up from painting...
In the second class period, I gave each table the primary colors, white, and just a tiny bit of black tempera paint to use. *It's amazing how many students will tell me I forgot green paint, for example, immediately after we review mixing primary colors to make the other colors they need! I showed them how they could use blue to add some shading (VALUE!) to their snowpeople. They were excited about making tints just like in their Polar Bear paintings. I gave them two brush sizes to use and suggested that they use the tiny brush to paint over the glue outlines of really important things. I actually don't mind the effect of the super-cheap-tempera-paint-I-wish-I-wouldn't-have-ordered here. It acted as almost a glaze and looked pretty cool with the glue showing through for snowflakes.
No fashionable snowlady would be seen in public without her makeup and best jewelry.
Students who missed the glue day drew with crayon then painted.


Tuesday, November 29, 2011

3rd Grade Polar Bear in a Snowstorm

I thought I'd give you all a break from my African Art lessons and show you something different that we just finished last week.

I remember when I was in grade school, somebody would hold up a blank piece of paper and exclaim that it was a "polar bear in a snowstorm".  I always thought it would be fun to really make a picture of a polar bear in a snowstorm.


This was a two class period project. First, we talked a little about idioms and the polar bear in a snowstorm saying. Then I used a paint chip to introduce "value" to the students as an Element of Art. I demonstrated painting blue at the top of their paper, white at the bottom, and gradually blending the two to make a tint of blue in the middle. This was really good practice for the students and something they had never really tried before. Most were able to get a pretty smooth transition and while some ended up with stripes, they still created new values. I used blue construction paper for the background so we could use up some of my not-so-high-quality tempera paint and not have to use 5 coats. At the end of the first class, I passed out 9x6 inch white drawing paper and the students started drawing polar bears. I printed off some photos for them to reference and offered to demonstrate drawing a polar bear so the students could follow along if they wanted. Usually when students draw along with me, they are more confident because they can see how I approach drawing. This time it backfired! The students kind of freaked out about it (for lack of a better term). Needless to say, after the first day I didn't demo and just told students to do their best looking at the pictures.

In the second class period, the students finished drawing the outline of their polar bears then I demonstrated using blue construction paper crayons to add some shadows to the bear's body. The students cut and glued their polar bears to the background then added shadows on top of the snow. The last step was to add flecks of white paint to make the snow storm. In the first class we tried using toothbrushes to flick the paint and that didn't work very well. Tuesday rolled around and my new plan was to water down the paint and put it in a spray bottle. As long as the students didn't go crazy squirting a bunch of times without looking, it worked well. I also think it could be fun to use the spray bottle for some Abstract Expressionistic paintings some day. 


I hope you'll check out some more examples below. It was pretty entertaining to hear the students make up stories about their artwork and see the different bears.

This was created in one class since the student was sick on the first day. Just gave the blue paper and a white crayon to create value in the background then everything else was the same.

Some students drew quickly and used their scraps to create large polar bear families...
Some got in a hurry to make lots of polar bears and just cut out bubbles...

 Some polar bears were feeling a little blue...
 Some made bears that were really looooooong...
 Some polar bears were leaping so fast that their shadows could not keep up...
 And some had really tall shadows!

We all enjoyed this project (especially making the storm) and as I was hanging the paintings this afternoon, I was already hearing positive comments! The end.