
In the last couple of years we were able to acquire some iPads and apple pencils for my art program. The first one was purchased with our Art Club account and the others were purchased with a grant. I currently have 3 that the students take turns using. ProCreate is one of our favorite apps. I've been trying to use it to create my own digital paintings so I understand it better and have examples to show the students. For about a month I completed a digital artwork for the IllustrationFriday.com prompt and I hope to do that again when school starts.
Here is a video of one of the first digital paintings I made. There is no sound but you can see a sped up version of the process I used.


Here are a few other illustrations I created.
 |
| I think this one was something fairytale-ish but I can't remember the exact word |
 |
| flight |
 |
| galaxy |
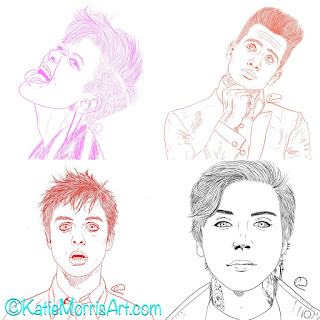
I encouraged students who wanted to learn to start by drawing on top of one of their photographs. Here is the process:
1. Line Drawing
-create a new canvas in ProCreate
-import photo and resize/arrange in place
-create a new layer on top of the photo
-under the "inking" brushes, select technical pen or studio pen
-change color to white or something that will show up on top of the photo
-"trace" the image, creating a line drawing with important shapes and details
2. Begin to paint
-create a layer BEHIND your line drawing and ON TOP OF the photo
-select a brush and a color that match your image and begin to paint in the shapes
-you can either start with a more textured brush or something simple like the round brush- it just depends on the look you want
-adjust the brush size to something appropriate for the shape
-turning the opacity down can yield a more "painterly" effect
3. Layers
-it's a good idea to make different layers for different sections of your painting
-every once in a while, turn off the photo layer by clicking the checkmark on the right side of the layer so you can see what you have really created
-you can make layers of solid color behind layers of texture
-layers can be used to adjust the look of colors like an underpainting
4. Blending
-you can use the tool that looks like a finger to smudge or blend colors
5. Brushes
-there are a variety of brushes in different categories for different textures and patterns
-you can use brushes to achieve realistic textures that match your picture or you can use them to create a more illustrated style
-brushes can be created for special effects
-to create a brush hit the plus sign at the top of the brushes panel
-import a photo that has the texture you want as the "grain source" and select a brush shape
-adjust the settings on the brush you created (or any brush by tapping on it twice) to get the look you want
6. Background
-make a layer behind the others you have painted and work on the background
-it can match your photo, just be colors and textures, or whatever style you want
-hide the photo to check and if it looks good, delete the photo layer by sliding right and hitting delete
7. Share/Export
-decide if you want to keep your sketch layer visible or not then you are done!
-go back to gallery
-select your image and hit the share button
-choose the file type you need to export as- jpeg works fine
-save image to camera roll, email, etc.
-we turn in through email or classroom once the image is added to photos
After students felt comfortable with a photo as a guide they got more creative, using a photo as a guide for one element or just drawing directly on a blank canvas in the app.


The students really enjoyed learning ProCreate. Some utilized it for their tool of choice in themed projects in my intro class and the computer graphics students were required to create one project using the app. Thankfully it was a small class so they just took turns and worked on an alternate project while waiting.


No comments:
Post a Comment