Showing posts with label slab. Show all posts

Monday, July 18, 2016

Ceramics Boot Camp

Before my students had a full choice ceramics project, I wanted them to try out several different techniques so we had a "boot camp".
1. Pinch pots with sgraffito- Students used red clay to make a pinch pot then coated part of it with white slip. We found that it worked best to use a fan brush to apply the slip and to do one stroke with each dip in the slip so that it wouldn't mix with the red clay underneath. When the slip had set up, students scratched or carved designs to reveal the contrasting color underneath. We finished with a clear glaze.
2. Simple Slabs- Students learned the basics of slab construction and slump molds and chose one to try. We found a suggestion on measurements for mugs so those were very popular. 
 One of my advanced students wanted to test image transfer so we round a tutorial that involves painting slip over a laser print. The slip resists the ink. When it dries you can wet the back of the paper with the sponge and use a rib to transfer. It can be a little tricky to get the slip to the right consistency. I'm looking forward to testing this out more next year.
3. Coils. We had a contest to see who could roll the longest coil and I demonstrated how to build with coils. Some left the coils visible and some smoothed the surface.
My advanced students didn't have a boot camp but I asked each of them to make a slab teapot. We followed the steps for a 30 minute slab teapot from Ceramic Arts Daily, but ours took longer than 30 minutes. Most were finished in 2-3 class periods. 


In my next post, I'll share some of the choice projects!

Saturday, February 20, 2016

Melting Glass in Ceramics

Once upon a time when I was in high school, my friend and I who had both decided to major in art education, were given a lot of freedom to experiment in art class. Somehow one of us came up with the idea of sticking stained glass scraps into clay and melting it in the kiln. We made some very colorful coasters and I remembered loving to see how the colors looked after being fired. I also have a nice scar on my thumb from the experience, but that's another story.
Last fall my boot camps covered mostly 2D media and while I was planning to wait until January to start introducing clay, I had a weird gap at the end of the semester and figured that a clay tile project would take just the right amount of time. I showed students several techniques they could try, but almost everyone got excited about the prospect of melting glass in carved out tiles. Many made projects for Christmas presents or since I finally gave them a chance to make something with the logo of their favorite team or brand to get it out of their systems, something just for fun.
We used the slab roller we received through Donors Choose to roll out slabs about 1/2 inch thick. Many students had their plans on paper and used a needle tool to transfer the drawing onto the clay, marking the edges and where clay would be carved out to make a well for the glass. We aimed to have the carved out areas about half the depth of the slab and to keep the bottom level. Some students carved too deep and were able to patch the bottom with fresh clay. When the carving was complete, (easiest if the clay has set up for a day or two but most of us just went for it after the drawings were transferred) we let the clay dry out and then tried to remove any "crumbs". I bisque fired to cone 05 when the tiles were bone dry.

 When the tiles were out of the first fire, students glazed the sides and the flat part of the tile, leaving the carved out sections unglazed. The glass basically serves as glaze for those areas. After glazing, we filled in the carved sections with small pieces of glass.

Here are some things I learned about this step:

  1. Small pieces are easiest to arrange and to get into all the little corners.
  2. We used a hammer, a piece of felt, a rock, and safety goggles when breaking up the glass. Fold the felt in half with the glass in the middle. Place the felt on top of the rock, and while wearing safety goggles, use the hammer to break the glass.
  3. Plastic baby food containers work well to store and sort the broken glass. Just label with a sharpie and find a storage container to hold the smaller canisters.
  4. You can use aloe vera gel to stick small pieces of glass in points or sections where they tend to slide. The gel holds the glass in place and burns out in the firing process with no weird film or anything left behind.
  5. Glass is unpredictable. Some glass colors get darker when fired- many reds turn out brown, gold turns orange, etc. Some colors, like the purple I bought, kind of bubble out of the edges. One green glass turned out like rock candy instead of melting smoothly at cone 05. It just depends on what kind of glass you have. I'm hoping to get some more stained glass and make samples with each color so students can see how it changes in the kiln.
  6. If you end up with a funny broken air bubble after the first firing, or did not fill in with enough glass, you can add more glass and fire again. We aim for putting in enough glass to be level with the top of the tile.
  7. Some colors will swirl together if you put them in the same section and some will not- it usually looks cool either way.
  8. It is super important to make sure that your glass filled tiles are sitting level in the kiln for firing or the glass will run out of the carved areas.
  9. If you are out of one color of glass, you can glaze that area and put clear glass on top. I had a bunch of those flat glass marbles that cost about a penny each and we melted them on top of a glaze when we briefly ran out of red.


You can see that some of the glass in this tile created a funny texture on the surface, but the other colors all melted fine.
Because I knew the purple would bubble out, I suggested this student use a dark glaze around the powercat (getting that favorite team logo out of his system) and it solved the problem.

Last week a student asked about putting glass on a mug. I'd never tried it on a round surface before but since it wasn't going to be a big area, we decided to try it. Since it wasn't a big area, I was able to use kiln stilts to lay the mug on its side and point the heart up so the glass wouldn't run out of the carved heart. I look forward to experimenting more with this technique!

Wednesday, July 31, 2013

Clay Roundup

I like to save clay for the last project of the year- we only do it once a year so students are excited and engaged, despite the approaching end of the school year. This year, however, clay projects were completed closer to spring break since I didn't know if baby #2 would let me finish the school year. (He was actually 3 days late but I ended up taking off a week early for my sanity.) I want to just post a quick rundown of each of my K-3rd grade clay lessons. 
*Click on the links next to the grade level headings to see a longer post with more information from a previous year.

3rd grade- The Pot That Juan Built

Students learn about Juan Quezada through this awesome book then make slab and coil pots. As long as they learn and use the techniques, they can make whatever they want. This year I didn't limit any color choices. The main body of the air dry clay projects were painted with tempera cakes and I gave black liquid tempera for details.

 2nd grade- Transportation

Last year I planned "transportation" as the theme for the 2nd grade lesson because it ties into their social studies curriculum. The students really enjoyed it so we tried it again this year. I demonstrated using pinch pots, coils, and attachments to make a few basic forms and the students made anything fitting the theme.
Wish I had noticed I messed up the photo. I loved the rider on this horse.

 1st Grade- Pinch Pot Creatures

One year the students made pinch pot turtles, then I added ladybugs, then I figured as long as they showed they learned how to make a pinch pot and attach things, the subject didn't really matter. Most students stuck to the animals I demonstrated- turtle, ladybug, fish- but some branched out and tried different ideas. There was even a beaver but I didn't get a photo of it. I know that the first time I saw the turtle idea, I was on Deep Space Sparkle but I've seen the other creatures too many different places to site an inspiration source.
Giraffe!

 Kindergarten- Knee Bowls, Choice, Adapted Ball Bowl

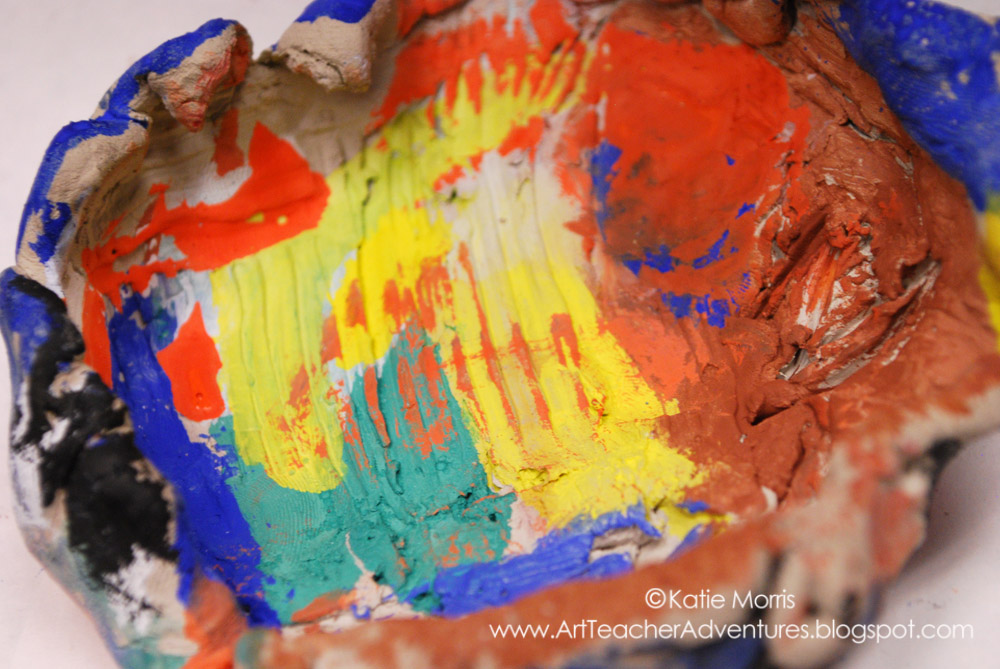
Most of my Kindergarten students made knee bowls- a slab of clay formed into a bowl by pressing over their covered knee. The students used tools to make designs and/or textures in the surface then painted in the next class period. This year I had several students who had made knee bowls with me in PreK and already knew the process and skills. Some of the students chose to try out the "adapted" ball bowl project I picked up at a workshop, and some made whatever they chose out of clay.
 Several Kindergarten girls sitting together made snowpeople family portrait sculptures. Below is one of my favorites, a self portrait riding a horse.
Next year if we get a district-wide agreement on what skills need to be mastered in clay at each grade level, I'm thinking about free choice as long as they demonstrate the skill.

Check out the related post, Loving Lumpy Pots!

Monday, May 16, 2011

Clay Projects

Here is a little recap of the clay projects I did with my K-3rd students in the last couple of weeks.

Kindergarten- Knee Bowls
I got this idea from one of the other Art teachers in my district.  I showed the students how to make slabs then they formed them over their knees to make bowls.

First Grade- Pinch Pot Turtles
I first saw this idea on Deep Space Sparkle done with 4th grade students.  I wanted an animal project for 1st grade since they spend quite a bit of time covering animals in science and I needed it to be a pretty sturdy project to give it a decent shot at making it home in one piece.  This worked pretty well with my students.  We made pinch pots, attached legs and heads using the Three S's: score, slip, squish.  (THANK YOU to whoever posted about this, I'm sorry I can't remember you!)  We also added a 4th S for "smooth."