Showing posts with label clay. Show all posts

Thursday, January 9, 2020

8th Grade Pottery

Since 8th graders made ceramic hand sculptures earlier in the semester and wanted to make something functional, I told them I would make sure they got the chance before the end of the class! The students had a day to research and find examples of pottery that fit into 3 categories: functional, decorative, and sculptural. I said functional pottery might have cool glaze, but is pretty simple, decorative has more design work added to it like carving, underglaze painting, stamping, etc., and sculptural has sculpted elements. After some initial confusion on which category to put each chosen image in, the students had some inspiration to design their own projects.

A couple students made slumped bowls.

I have a mug template that is a pretty nice size and involves only a slab-rolled rectangle and a circle made with a cookie cutter and many students chose that base.
Some students made handles, some left their cups plain.
Sgraffito is one of my all time favorite techniques so I was excited to have some students give it a try!

Bowl on a pedestal with tree pillars. Layered glazes inside the bowl.

The students could make any type of functional pottery, they just had to think about their designs and get a plan approved. This year I think I found a pretty good balance between having open-ended but still structured lessons with choice-based projects in between. 

I've struggled the most with finding the right balance between structure and freedom in my middle school classes out of all PreK-12 and I'm hoping this structure continues to work well with my 7th graders who will be have art 2nd semester.

Sunday, April 14, 2019

Clay Around the Room

This school year I did my ceramics boot camp a little differently. I've started using some "around the room" activities- a brilliant idea that TAB teacher Cynthia Gaub came up with. You can read an article about her Around the Room activities HERE. Basically, there is some type of activity at each table to which students rotate to try something new or learn a new skill. I started making handouts for each around the room activity and storing them in page protectors in a binder so I can just pull them out next year.
For ceramics, my stations were coils, pinch pots, sculpting, and slabs.
At the coil table, students were shown images of coil construction then challenged to roll the longest coil they could and try to make a little bowl.
At the sculpting table they were once again shown images of some ceramic sculptures and were asked to manipulate the clay just using their hands and no other tools to make something. My students tend to think in parts and I wanted them to see they can pinch and pull the clay instead of just assembling.
At the slab table, students learned to use the slab roller then I asked them to make a 90 degree corner by mitering the edges, scoring, and slipping.

At the pinch pot table I asked the students to form two similar pinch pots and put them together to make a hollow form. 
The around the room practice pieces were recycled so we covered a lot of skills without waste.
To finish off the boot camp, the students made clay plaques for lack of a better term. They had to use additive and subtractive techniques as well as create texture. Some melted stained glass in a few areas. The theme and subject were up to the students. They tend to remember seeing this "project" in the hallway from previous years and enjoy making their own ideas.


Monday, November 19, 2018

Middle School Ceramic Gargoyles

My 8th graders weren't yet ready for too many choices  when it was time to do clay. I wanted to choose a topic that would get them interested and cover a bunch of different sculpting techniques. I remembered that my high school students had made gargoyles at League Art in the past and that other students were always intrigued with the results so I chose that topic.
We looked at a bunch of images and discussed the history of gargoyles and grotesques both practical and symbolic before brainstorming a list of features we saw in the images. The students used the list to help them come up with ideas as they sketched out a gargoyle they wanted to make.
The next day I demonstrated combining pinch pots to make hollow forms, attachment techniques, and several sculpting methods. The students set off to work on their sculptures.
When they were ready for glazing, I showed how you can dab on black glaze then wipe it off with a sponge to create a stone effect. All the students chose to glaze their gargoyles with this technique and they turned out great! A few didn't wipe off quite enough so they just have some black shiny spots instead of a matte finish. The 8th graders impressed the high school students who kept asking about the projects and who had made them. The students have steadily shown more work ethic and responsibility since we moved to 3D projects so they have shown me they are ready for a theme which is how we'll finish off the semester.


Friday, February 23, 2018

4th Grade Clay Boys

This year my grade school chose a theme of "Oh the Places You'll Go". For Family Literacy Night in the fall, each grade had a different country to learn about- the students gave reports, performed dances, and just generally showed what they knew in a fun way. 4th grade chose Russia so I set about trying to design a lesson connected to Russia. I was first researching Russian art and getting a lot of depressing works but then a friend reminded me that she always looks at children's books- duh! I was able to request a few folktales from our library network and the one that gave me the best idea was Clay Boy, a folk tale retold by Mirra Ginsburg.
In the story, an old couple fashion themselves a little boy out of clay and he comes to life!- this reminded us of the Little Gingerbread Man. The big difference is that the clay boy eats EVERYTHING and everyone with a goat saving the day at the end.

I recently posted the lesson on the smARTteacher so feel free to check it out!

2 sessions; 40 minutes per session

1. SWBAT understand what a folktale is.
2. SWBAT create a simple figure out of clay
3. SWBAT add details to their projects to personalize

1. red earthenware clay
2. clay tools
3. fabric scraps
4. scissors
5. glue (students used elmer's and I used hot glue when needed)
6. yarn

Need these materials? Visit Blick!

1. Introduction
-The teacher will explain that folktales are stories passed down through generations
-Clay Boy is based off of a Russian folktale
2. Read Clay Boy or show video
-discuss: does the story remind you of anything else? Some will say it reminds them of the little gingerbread man
3. Work with clay
-demonstrate forming clay into a figure starting with a fat cylinder or rectangular shape
-cut clit to free legs and arms
-pinch to form appendages and shape head
-pose figure into sitting or standing
4. Let clay dry and fire in kiln
5. Finish sculptures
-students cut fabric scraps and form into clothing
-glue in place

1. Clay Boy by Mirra Ginsburg
2. Youtube video of Clay Boy reading https://www.youtube.com/watch?v=KZ7Fuy-wnOU

THE STANDARDS

Visual Arts Standard 1:
Understanding and applying media, techniques, and processes


[K-4] Students use different media, techniques, and processes to communicate ideas, experiences, and stories
[K-4] Students use art materials and tools in a safe and responsible manner
[K-4] Students know the differences between materials, techniques, and processes

Visual Arts Standard 2:
Using knowledge of structures and functions


[K-4] Students know the differences among visual characteristics and purposes of art in order to convey ideas

Visual Arts Standard 6:
Making connections between visual arts and other disciplines


[K-4] Students identify connections between the visual arts and other disciplines in the curriculum

THE FEATURES
Form, Texture

Ceramics

Multicultural Studies

Wednesday, December 28, 2016

Guest Artist: Kegan Meister

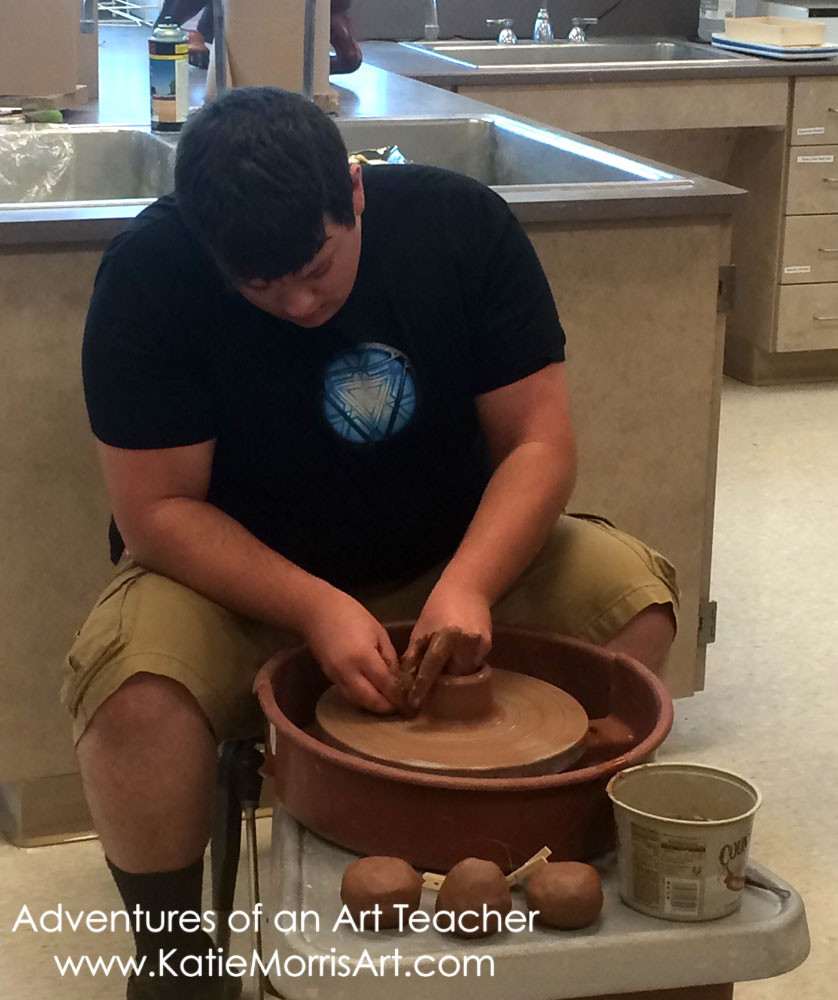
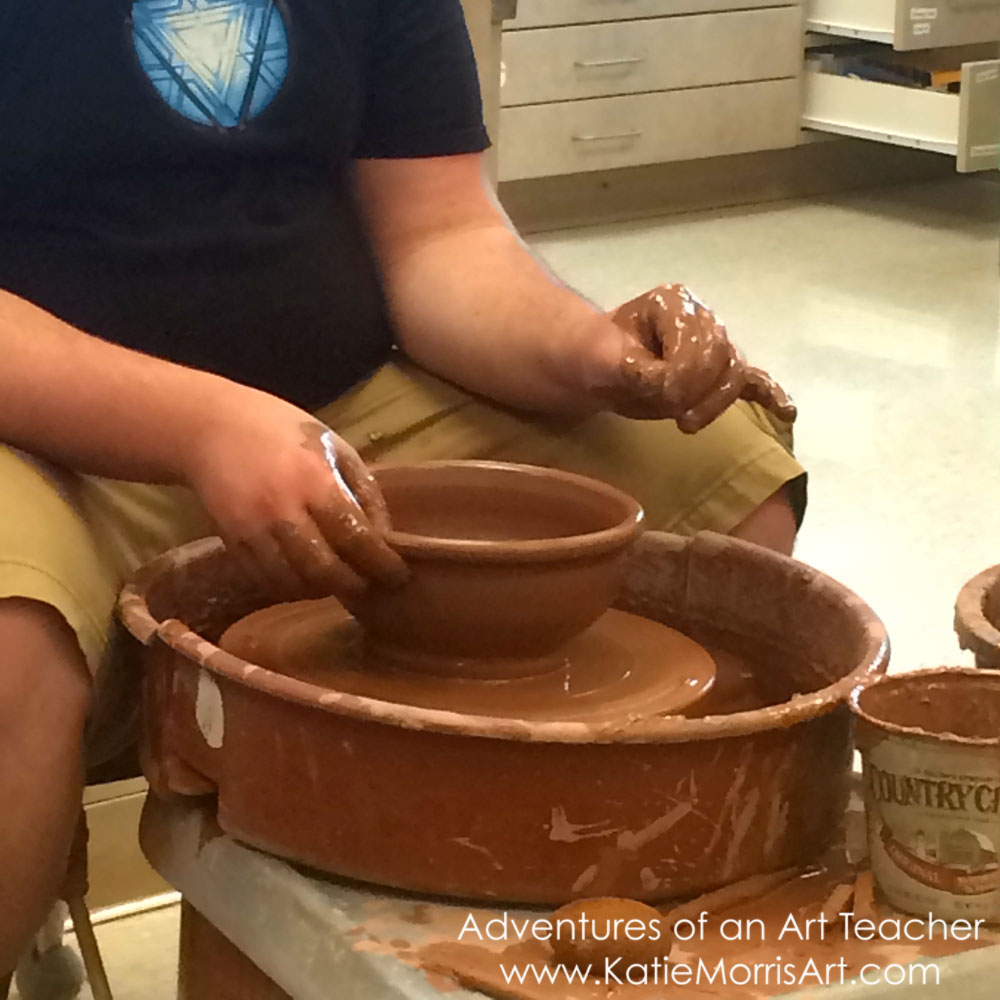
I'm a firm believer in being real with my students and admitting my weaknesses. I'm honest with my students that wheel throwing is not my strength. I didn't do it much in high school and had maybe half a semester on the wheel at ESU. I finally learned to throw during my 2nd student teaching placement- and then taught K-6 for 6 years so I've had to relearn. With lots of practice over the last year and a half, I'm feeling more confident and have improved quite a bit, butttt, my skills are not nearly as advanced as a family friend who is majoring in ceramics and thinking about becoming an art teacher. Kegan sent me a message last August to ask if it would be ok to demonstrate throwing for my classes before his semester started up again. I said absolutely and rearranged the schedule to fit him in. Kegan spent most of the day at school demonstrating which I hope was as good an experience for him as it was for the students and me. 


Thursday, July 28, 2016

Choice Ceramics Projects

In my last post I shared what we tried last school year for the ceramics boot camp. After students had sampled each of the basic hand building techniques we covered, they proposed a plan for an independent ceramics project. Here are some of the results. It was really fun to see all the different directions it went. A few students chose to learn to throw on the wheel but I will have to add those pictures later. I didn't make wheel throwing a requirement as we only have three wheels.
I had two students make tromp l'oeil food sculptures. They used plates as slab molds to make the base and then used several techniques to create the look of the food. There was SO much detail put into these two projects. The curly fries were made by cutting a slab into skinny strips and curling them so they would maintain the square edges. The fries were fired separately so they could be dipped into glaze and fuse in the last fire. The cheeseburger was made from slabs and coils. I saw a lot of thought go into which glazes to combine to create the desired effects.
The stack of pancakes was originally going to be a box with the berries acting as a handle. There was a little blowout in the bottom during the bisque fire so the student glazed it together to just be a hollow form and I found some felt with a sticky back to add to the bottom to disguise the chips.
One of the most fun parts was figuring out how to make bacon! We rolled coils of red and white clay, stuck them together, flattened them, and crimped.
 The football below is a bank made by a freshman. The mask was made with a mold I got for a project through Donors Choose. The student achieved a really cool texture by applying and wiping away glazes.
 The next project was made by a senior who joined art second semester. It was inspired by Skyrim. I don't think the student had ever taken art before and I thought he did a really nice job. He layered multiple glazes and the blue eyes were made by melting stained glass into a depression.

 I received some underglaze pencils for Christmas so I tested them futon a plate. I learned that they can smudge a bit from brushing on a clear glaze so I'm trying to work around that but I think there are a lot of possibilities and I'm looking forward to offering it as an option in the coming school year.

Wednesday, January 27, 2016

8th graders on the Potter's Wheel

I mentioned in my last post that I hadn't planned on offering wheel throwing to my 8th grade class but some students asked and I figured why not? Probably half of the students ended up trying it out and all but a couple of them actually made something functional! I was impressed. They seemed to take to throwing a lot better than I did in the beginning.

First attempt on the left, second on the right. I know the gray bowl was the result of a glaze defect, but I think it's beautiful.

Saturday, July 26, 2014

Loving Lumpy Pots

I almost didn't share my 3rd grader's clay projects this year, because I've been using basically the same lesson based on the book "The Pot That Juan Built" every year. When I went to delete the pictures, I just couldn't do it! I was struck by the lumpy pots, the pots that reminded me of my first experience with real clay. 
In my hometown, there's only one art teacher and the students don't get a real art class until high school. But when I was in second grade, we had a special project! We were each given a ball of red clay with which we made bowls. I remember forming the clay and thinking how smooth I had made it. I was so proud! We even got to glaze the pots and the high school art teacher fired them in the kiln.  I chose a pinky-mauve color. I kept the bowl until it fell in the sink and broke a couple years after I got married. I was a little sad that my lumpy pot, thought to be perfect by my 2nd grade self, was broken. I glued it back together and it broke again, as broken ceramics tend to do.
So the point here, friends, is to cherish those lumpy pots (and the smooth ones). Are my students' projects perfectly constructed? Nope. But they're elementary students who only get to use clay once a year. And the students are so genuinely excited about and proud of their projects that it makes me excited and proud, too.