One of my demos for 3rd grade before Covid-19 was about landscapes. We first watched the PBS Bob Ross Remix because I knew some of the kids liked Bob Ross and because I really appreciate some of his ideas like "this is your world, you're the creator, find freedom on the canvas."
I also just love the video. My husband seriously played the song for me a few times when I was in labor with my 3rd kid! I find it very relaxing. Students do too, high school students still ask me if we can listen to after I play it for them when we talk landscapes!
Next we looked at photos of landscapes and talked about foreground, middle ground, and background, the horizon line, and the element of space. Students who decided to make a landscape (I think all of them did) spent the rest of the first class period sketching out their ideas in pencil.
In the second class period, I demonstrated procedures for watercolor paint and for liquid tempera. We talked about the differences between the two mediums and then the students chose which they wanted to use. Most preferred tempera, but probably 1/3rd chose watercolor.
Most students spent about 3 class periods on their landscapes, some longer. In the 3rd class, I talked about how to tell if your work is finished and showed how you can add other media like oil pastels or colored pencils on top of paintings if you want.
I really enjoyed seeing what students chose to put in their landscapes. A few represented a real place they had been but most chose to use their imaginations and to make a place they would like to visit.
The basic tenants of a TAB (Teaching for Artistic Behavior) classroom are:
What do artists do?
The child is the artist.
The classroom is the child's studio.
This school year before my high school students started their drawing boot camp, I wanted them to think about the first question on the list: What do artists do?
I wanted them to understand some of the traditional categories of art and introduce some that they are less familiar/comfortable with so that when it was time for their first choice artworks, they would have a foundation to build on and some new ideas of what is possible do they could answer another question: What can I make? The Around the Room structure created by Cynthia Gaub worked really well to accomplish this goal.
Here is a list of the activities we did, although I did this before the drawing/collage boot camp instead of after as I originally considered.
Portraits
For portraits I created some basic "how to" sheets with steps or notes about drawing facial features. I asked students to draw at least one nose, eye, and mouth for practice.
Students drew facial features on a head template to practice placement. I explained that observation is more important but the basic proportions are helpful to know so you can troubleshoot if something doesn't look right, or for when you are drawing from imagination/memory.
One of the activities was to finger paint a portrait of the student across from them. I forgot to tell my high school students not to paint ON each other so if you try this, learn from my mistake.
The last activity was to trace the contours of a magazine portrait. I know it sounds weird, but I explained to the students that it can help you build muscle memory and feel how the parts fit together.
Still Life
Somehow I didn't take any pictures of the still life activities, but here is what we did.
I had a very busy still life scene set up with lots of found objects. Students were asked to zoom in, try different angles, etc. to practice composition in a photo.
I set a little wooden chair on the table and asked students to draw the negative space instead of the positive. This was a difficult concept for them to understand- the empty space AROUND the chair instead of the chair itself. I explained that checking the negative space is a handy tool when drawing because it can help you figure out size relationships.
Contour line drawing- I had a collection of objects on the table and asked students to choose one to draw the contours of, focusing on accurate observation. Learning to see is an important skill not just in art and even my students who prefer to draw from imagination tend to be more confident when they have a foundation in observation.
I pulled out the tub of wooden forms that includes cones, pyramids, cubes, spheres, etc. and students practiced drawing them with depth. (Later in drawing bootcamp we talked more about perspective.)
Landscapes
Students had two activities for landscapes. First was to make a torn paper collage with background, middle ground, and foreground.
The 2nd was to use the ProCreate app to make a digital landscape using layers. We don't have enough iPads for everyone so some worked with a partner.
Abstraction
My example of breaking a composition down to simplify into abstraction.
The first type of abstraction the students practiced was through simplification. The students chose their favorite photo from the still life composition practice and abstracted it. This was also a difficult concept for them to grasp! I was talking to my teaching neighbor after school and he suggested showing the scene from Inside Out where they enter "abstract thought". I showed the clip the next day to reteach but I wish I'd thought to show it first!
The 2nd activity in this category was nonobjective vs abstract. I had cut sections of magazine pictures out that were interesting in terms of color, texture, lines, etc. but were just a small part so you could not tell what the original thing was, and glued them in the middle of a piece of paper. The students used their choice of drawing supplies to start with the magazine piece and fill in the rest of the paper creating a nonobjective design.
Imagination
The imagination activity was included in the same day as the abstract/nonobjective. Students went to www.artprompts.org and made a drawing based on one of the prompts. Artprompts.org gives you ideas of something to draw that aren't easily google-able.
Reflection
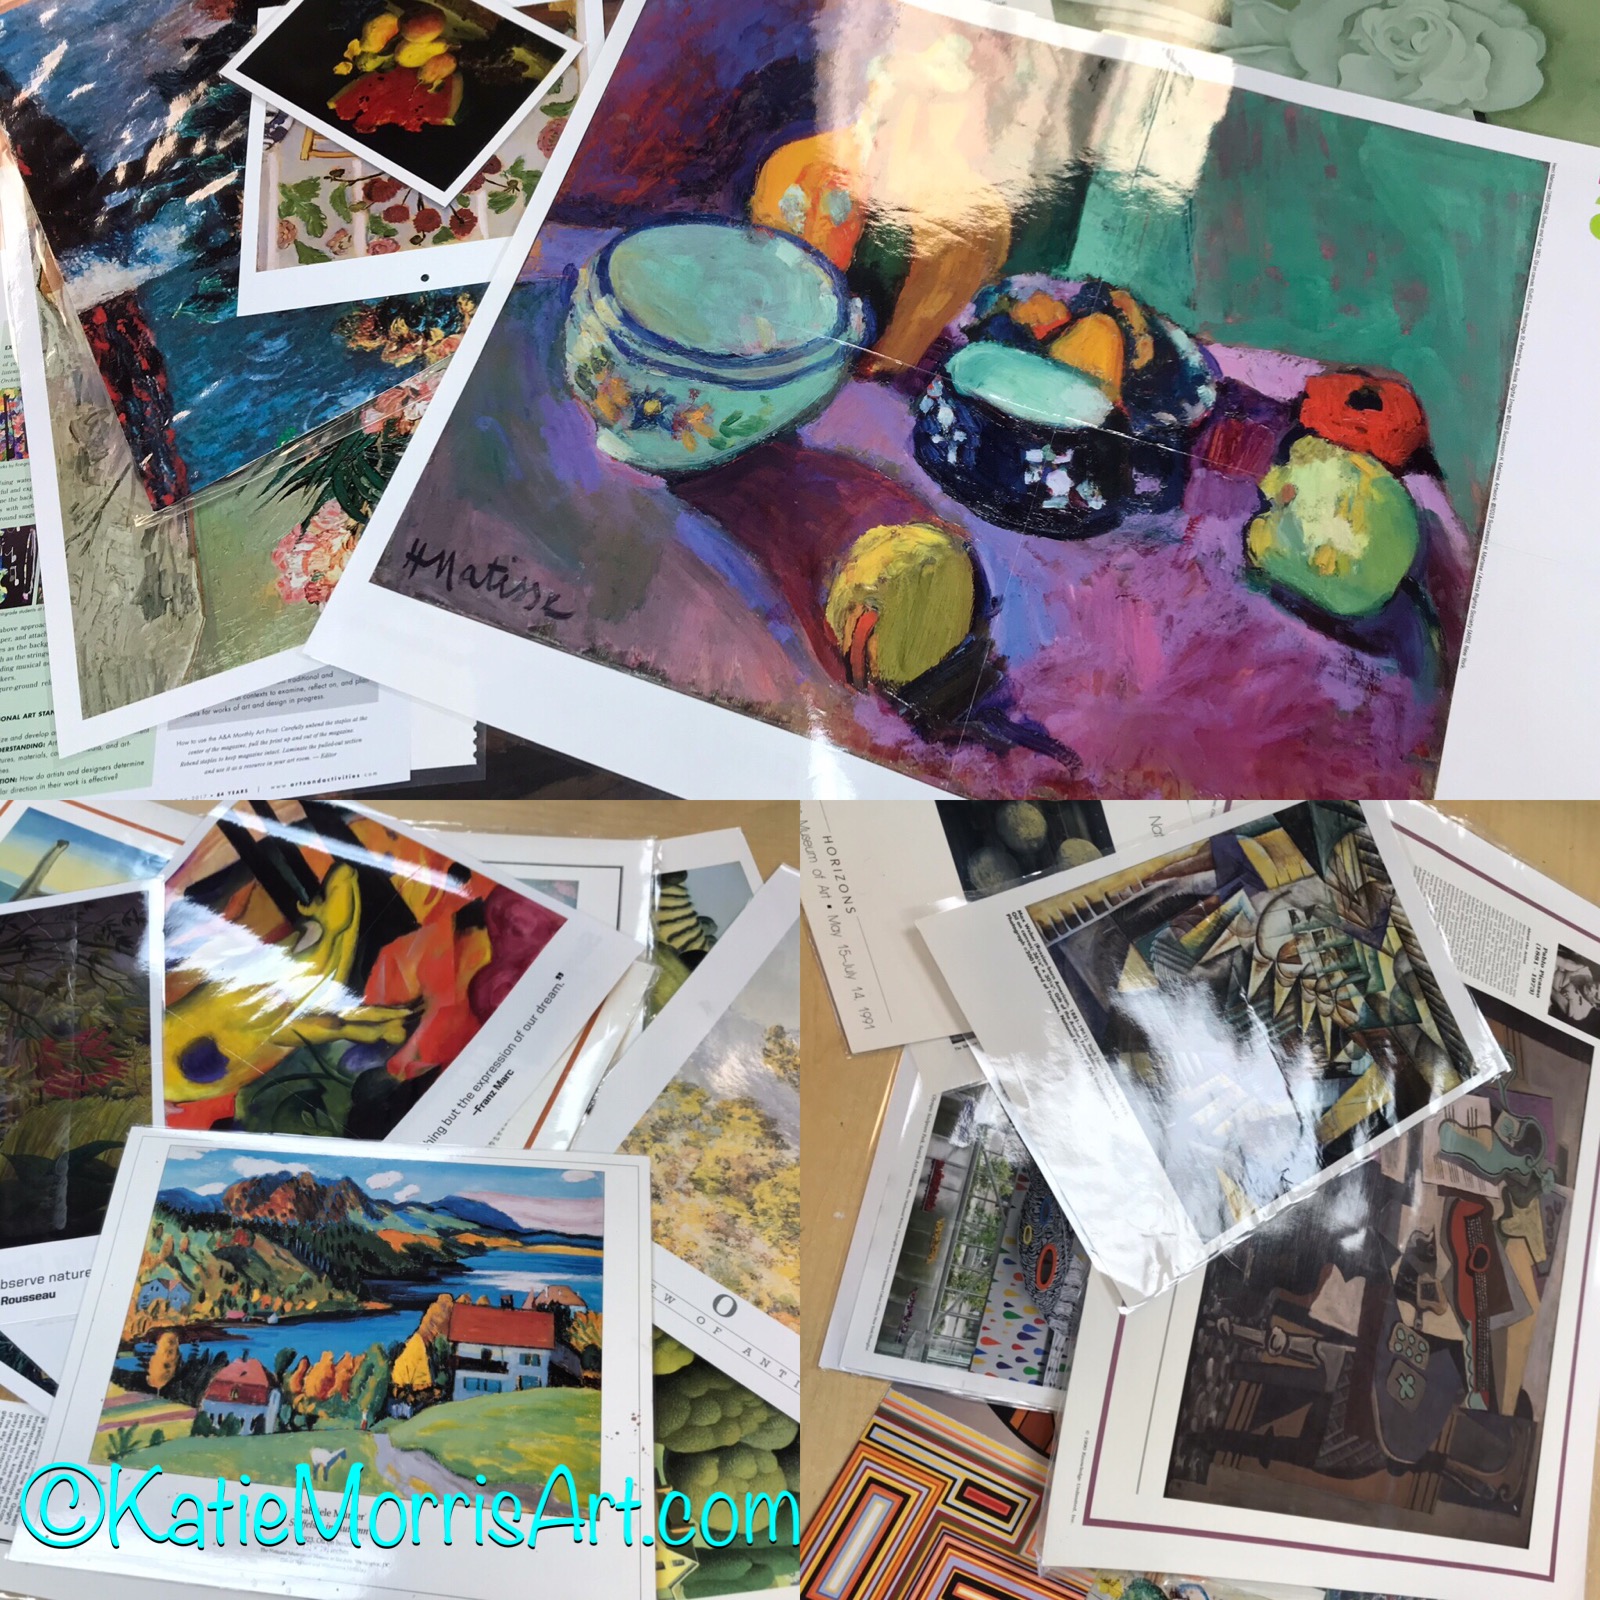
On the last day I set out art prints organized by genre on different tables. Students rotated through each genre and wrote about their favorite piece. At the end I asked them to think about their favorite genre and why they like it. After our drawing/collage boot camp, students created work and identified the genre within which it fit.
My favorite part of the reflection was when a student that had been complaining about having to try abstraction for a day, realized he chose the most abstract example in each genre as his favorite. It's fun to challenge students' notions about art!
I did lots of thinking over the summer. LOTS of thinking. I knew I wanted to stick with TAB, but I hadn't ever used the approach with high school students. I was torn until I read about Apex's idea of "boot camp". Brilliant! Students spend time doing activities to get acquainted with new media so they know what they want to use for their choices later on. The first month of school was basically 2D boot camp in my graphics classes. We covered observational drawing, pencil rendering, ink techniques, acrylic, watercolor, colored pencil, mono printing, and collage! Soon, we will do a 3D boot camp and later on, digital media.
Our painting boot camp started with a color mixing challenge. Students were divided into teams, given a sheet with numbered paint sample swatches, tempera paint in primary and neutral colors, and worked together to mix paint to match the colors as close as possible.
The next task was to complete a one day acrylic painting of fruit. I gave the students small pieces of poster board to paint on and did not allow them to draw the fruit ahead of time. I wanted to see how they would do starting directly with paint.
After acrylic, students completed one day watercolor paintings. I suggested a landscape, but it could have been something else. No reference photos, just see what you can come up with out of your head.
Students were much more comfortable with acrylic than watercolor, so one of my goals for the year is to win some more over to team watercolor!
The next post, some day, when I'm once again caught up on grad work, will cover mono printing and collage boot camps. If you want to see what we're up to in closer to real time, follow @JHArtClass on Instagram!https://instagram.com/jhartclass/
Last year I tried Sumi-e (Japanese ink painting) with my 6th grade students and was pretty frustrated with the results. It was challenging for the students and they had an especially hard time creating value. I tried a different approach with my 5th grade students for our Cultural Heritage Week East Asian focus this fall and I'm much happier with how everything went!
The solution was to actually incorporate a second Sumi technique- Suminagashi. Suminagashi is a Japanese paper marbling technique that involves suspending ink on top of water and printing on paper.
After watching this video tutorial from Blick, it seemed very doable.
I had a small tub of water for each table and poured some Sumi ink in a cup. The students very carefully applied a couple drops of ink to the surface of the water, used the end of their brush to create gentle ripples in the water which creates cool organic patterns in the ink, then dropped their paper on top of the water and lifted to reveal their marbled paper. I have 6 student tables at this school and with one student printing at a time, it only took about 10 minutes. The students were very supportive of each other as they took turns and were just as excited to see each piece of paper. The students lightly blotted their papers on a piece of paper towel and left them there to dry while I demonstrated how to hold a paintbrush for Sumi-e. After my demo, the students had time to start painting landscapes on top of their papers. Some were able to finish this project totally in one 40-minute class period but most needed some time in their next class.
The marbling is a bit hard to see on some of my photos. That's what I get for leaving my camera and having to use my cellphone. :)
When the paintings were dry, I flattened them under some heavy books then the students mounted on red or black construction paper for display.
I still think PBS's Bob Ross Remix is the best video on YouTube. If you haven't watched it yet, do it now. I'll wait. You won't be sorry.
The video is so positive and fun! It is just full of positive statements including:
"I believe, I believe, every day's a good day when you paint"
"We don't make mistakes. We just make happy accidents."
"Believe that you can do it, 'cause you can do it."
My 3rd grade students think it's pretty cool, too! They loved watching the video as the jumping off point for some landscape paintings. After all, one of the lines in the song is "This is your world, you're the creator. Find freedom on this canvas." After watching the video and pointing out how Bob Ross was very positive and talked about "happy little clouds" and "happy little trees", the students discussed how Art could make us feel happy. The students were asked to think of a landscape that would make them feel happy because they would soon be painting it!
The schedule was really funky in August and the beginning of September. My Tuesday classes ended up having 3 class periods to paint, Friday classes had 2, and Monday classes only had 1. After the remix, the Tuesday and Friday classes also got to watch a short YouTube clip of Bob Ross' technique for painting clouds. My student teacher or I demonstrated painting a simple sky and the best Ross cloud technique we could muster using tempera paint, then the students painted their clouds. The next thing we asked them to do on the first day was to paint their ground and other big shapes. The details, and more demonstrations on things like plants and adding texture came in the 2nd class period.
I've been so obsessed with inspired by the remix that I decided this project would make a good bulletin board display. Let me tell you, I've had more comments on this bulletin board than any other I've ever put together! Teachers seriously stopped in the Art room when they weren't even dropping off a class to tell me they liked it or share a memory of watching the Joy of Painting on PBS.
I like creating QR codes to put on my project description signs. I don't think anybody ever scans them, partly because I don't think a lot of people know what they are. I decided to add a little explanation this year. Underneath my QR code, it says "Wondering about the weird black and white squares? Scan them with a free QR code reader on your "smart" device to be directed to the website." Hopefully the explanation will be helpful.
Check out a few of the students' happy little landscapes. I am very behind on posting artwork to Artsonia this year so these are all I have photographed for now.


 Next we looked at photos of landscapes and talked about foreground, middle ground, and background, the horizon line, and the element of space. Students who decided to make a landscape (I think all of them did) spent the rest of the first class period sketching out their ideas in pencil.
 In the second class period, I demonstrated procedures for watercolor paint and for liquid tempera. We talked about the differences between the two mediums and then the students chose which they wanted to use. Most preferred tempera, but probably 1/3rd chose watercolor.