I wanted my 5th graders to learn about Fibers during their last lesson of the year, but I wanted to give them choices, so I designed sort of a Choose Your Own Adventure lesson! I thought about all the supplies we had available and the time that was left and came up with 3 "explorations" the students could choose from: Weaving, Quilting, and Textile/Clothing Design. Within each, there were more options. I used my big classroom bulletin board to post information about each category and the options within each. I took a cue from
TAB and created "menus" to display for each option that would allow students to work fairly independently. Unfortunately, I forgot to photograph my menus so you'll have to use your imagination.
I only had a couple takers on the quilting exploration and neither finished. I'll write about the weaving exploration now and later post about the textile exploration. Weaving was pretty much broken down into paper, cardboard loom, and radial.

Within paper weaving, students could use regular construction paper, magazine images, paint their own paper, or come up with another option on their own. All my paper weavers chose to use solid construction paper. Some layered strips to create interest, some made patterns with their colors, and one drew a picture over the top when she had finished.
 |
| This student showed an interest in color theory. He told me about choosing complementary colors and trying to make the illusion of blue fading to white. |
Loom weaving was a pretty popular choice. I had honestly never woven with students using anything other than paper before so it was a learning experience for me. I had a bunch of cereal boxes and other thin cardboard pieces that we cut apart to be used for making looms. This worked ok, but a thicker cardboard would be much sturdier. I didn't expect the cardboard to curl so much. It wasn't really a problem other than not being able to store them flat. I'm hoping to order some more of the sturdy chipboard looms I know a lot of teachers have success with for next school year. Some students didn't have any trouble making their looms and threading the warp before the end of the first class but others took almost two whole classes because no matter how many times they've been shown, they struggle with rulers.
Making our own looms
Pros= free, students get to keep the looms, measuring practice.
Cons= time consuming, curled up, not super sturdy, ends of finished weavings tend to flare out instead of staying straight.
Most of the students eventually got their looms constructed and loaded correctly before beginning to weave with yarn. There was a lot of peer tutoring happening naturally as the students were allowed to sit in groups with those working on similar projects. Some students, however, sort of slipped through the cracks and ended up with less than successful products. This is in part due to me learning how to manage a "studio", partly due to students missing classes and not having time to make it up, and partly due to minds focused on other things than technique at the end of the school year.
 |
| Whoops! |
Common issues with loom weaving for students not paying attention confused students:
- Thinking that over-under-over-under is just an option/skipping all over the place
- Looping the yarn around the back of the loom at the end of a row instead of flipping back the other direction
- Not pushing the weft close enough together
- Cutting the warp threads too short

The student whose loom weaving is posted at the top of this section was a rock star. She really took to the process and enjoyed herself. She constructed her loom and picked everything up really quickly. She came in to work during extra time (and would have spent even more time in the art room if allowed) and finished early. When she was done with a class period to spare, she decided to work on some finger knitting. She also helped others who were struggling with weaving and started teaching some friends to finger knit.
The last weaving option, and by far the most popular fibers exploration in 5th grade, was making radial weavings on old CDs. Our music teacher just retired and gave me a shoebox full of old CDs as she was sorting through her classroom. It was another new process for me and the students but we got the hang of it. Since there were so many students interested in weaving on CDs and because there was a general level of confusion, I ended up having all the students working on that project in each class come around a table so I could demo and make sure they at least got started ok.
Here are the basics steps we took on our CD radial weavings

- Loop and knot a long piece of yarn through the center of the CD (from the outside edge through the hole in the middle). Tie a knot on whichever side will be the back.
- Continue looping the yarn from the outside through the hole, working in a clockwise or counterclockwise direction. Several students (all boys, conincidentally) forgot that their "spokes" needed to go in one direction and kind of wrapped all over the place, skipping around to different sides and back again. This made it really messy and confusing when they started to weave.
- Stop looping when there is an odd number of "spokes" on the front. If your students are anything like mine, you'll have to repeat the words in bold a LOT. When there is an odd number on the front, tie a knot and put a piece of masking tape over both knots. This adds security and gives the students a place to write their name with sharpie. It is very important to have an odd number of your warp threads when working on radial weaving. If there is an even number of spokes, the yarn just sort of stacks up. To fix this, I had students just scoot two spokes close together and act as if they were one thread every time around. For some reason I also had students trying to weave on the back of their CDs, which causes trouble when you run into the knots.
- Get a "wingspan" of yarn and start weaving on the front moving in one direction the whole time in an over-under manner. The students struggled with tucking one end of the yarn under the spokes and then starting to weave with the other end so I eventually started having them use a small piece of masking tape to secure the end. Before taping, I had students trying to weave with both ends going in different directions. It works best to go over-under a few spokes then pull tight and repeat. If students try to go all the way around the CD before they pull the yarn tight, they tend to get weird loops that tangle.
- When you run out of one piece of yarn or want to switch colors, tie the ends together and keep weaving. There are probably other methods than tying the ends of the yarn together but this was the easiest for my students.
- Continue weaving until the front of the CD is full or the design is complete! Tie a knot to secure the end.


This student started off with an even number of spokes- note how the rings of green in the center are stacked. After the green, I showed him how to combine two threads into one to correct the problem.


 Indian animals were one of the starting points for my 4th-6th graders' Cultural Heritage Week projects this year. India has some really beautiful, interesting animals. On my "choose your own adventure" bulletin board, one section had a list of Indian animals and some facts, like that the Bengal Tiger is the country's national animal and the Peacock is the national bird. I found a color photo of each of the animals I listed to display on the bulletin board and printed off reference photos showing most animals from multiple angles. How the students chose to use the animals in their artwork (or whether they went an entirely different direction) was up to them.
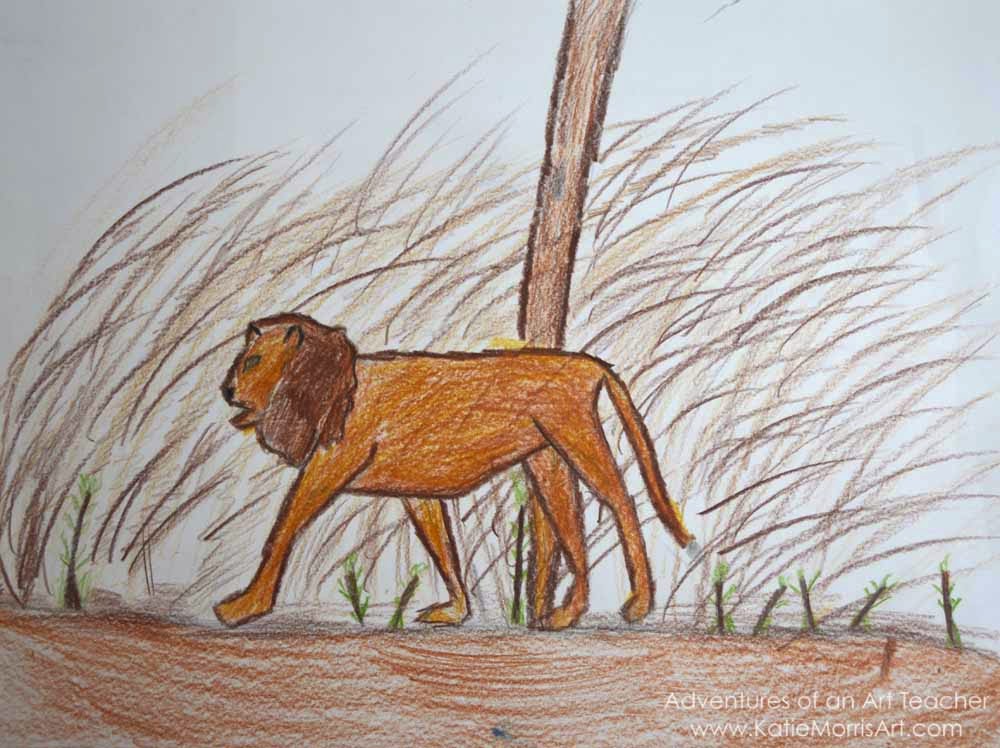 Many students chose to create realistic drawings.


