

As I mentioned in my last post about the Jr. Duck Stamp Program, I created a PowerPoint that shows how I approach drawing a Canada Goose. Since I was gone on maternity leave when my older students began the project this year, I was even dorky enough (and "nesting" enough) to record my voice explaining each step. I always think it's interesting to see how different people approach drawing so I thought I would share the photos of my drawing.
 |
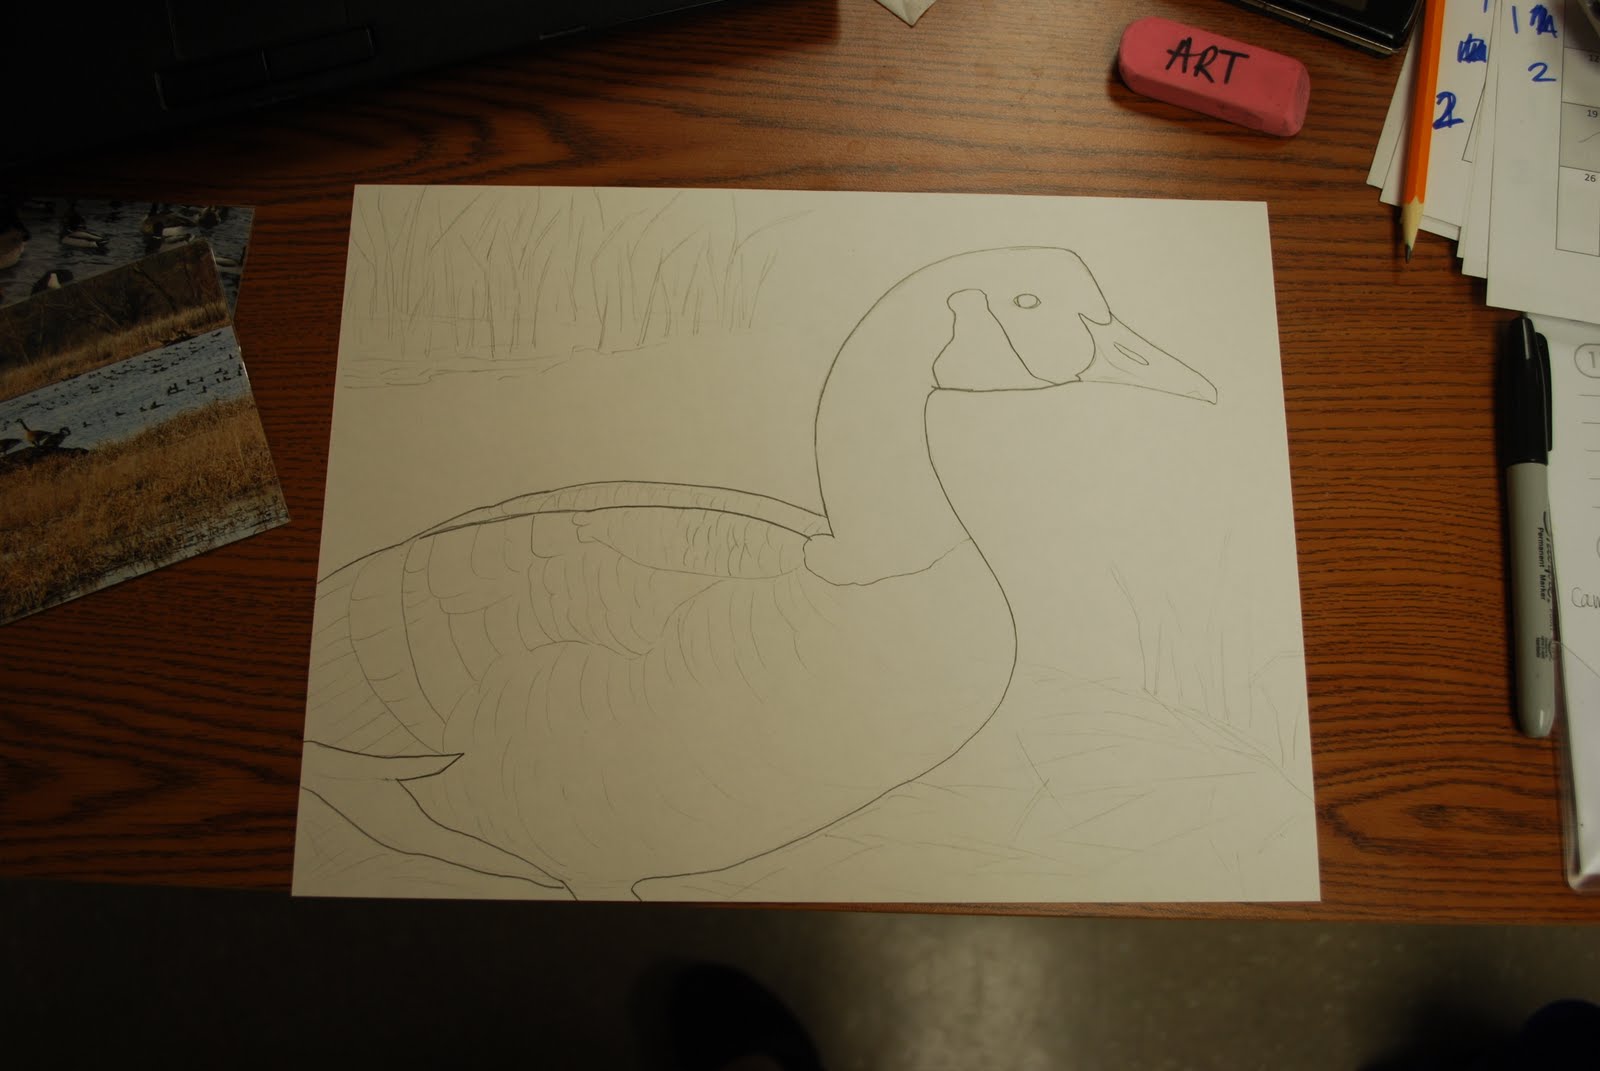
This picture is hard to see, but I basically laid out the drawing really lightly with pencil. I always suggest that to my students so it is easier to erase if they make a mistake. Or draw a teeny tiny picture instead of filling the space. Lots have trouble with controlling the pressure but some are starting to get the hang of the press lightly approach.


When I have the lines where I want them to stay, I erase any extra lines and "firm" the lines that are staying.


After I got the larger areas all laid out, I started to add smaller details.


I always think the black markings on Canada Geese has a blue undertone so I start there.

This is the photo I was referencing for the body of the goose.


Finished the beak, then started adding black to the neck and head.


Added more layers of black then started with the first layer of color on the feathers.


Added more layers of color on the body and started to develop some light shadows.


Started to work on the background. I used a photo I took of some wetlands to reference for the background.


Adding navy for more depth in the background grasses.


Working on water and reflections.
Finished drawing (all made with school grade colored pencils!) It was really helpful for the students to see the process without having to watch me draw the whole thing!
No comments:
Post a Comment